Rajbhog
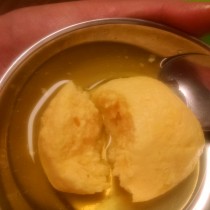
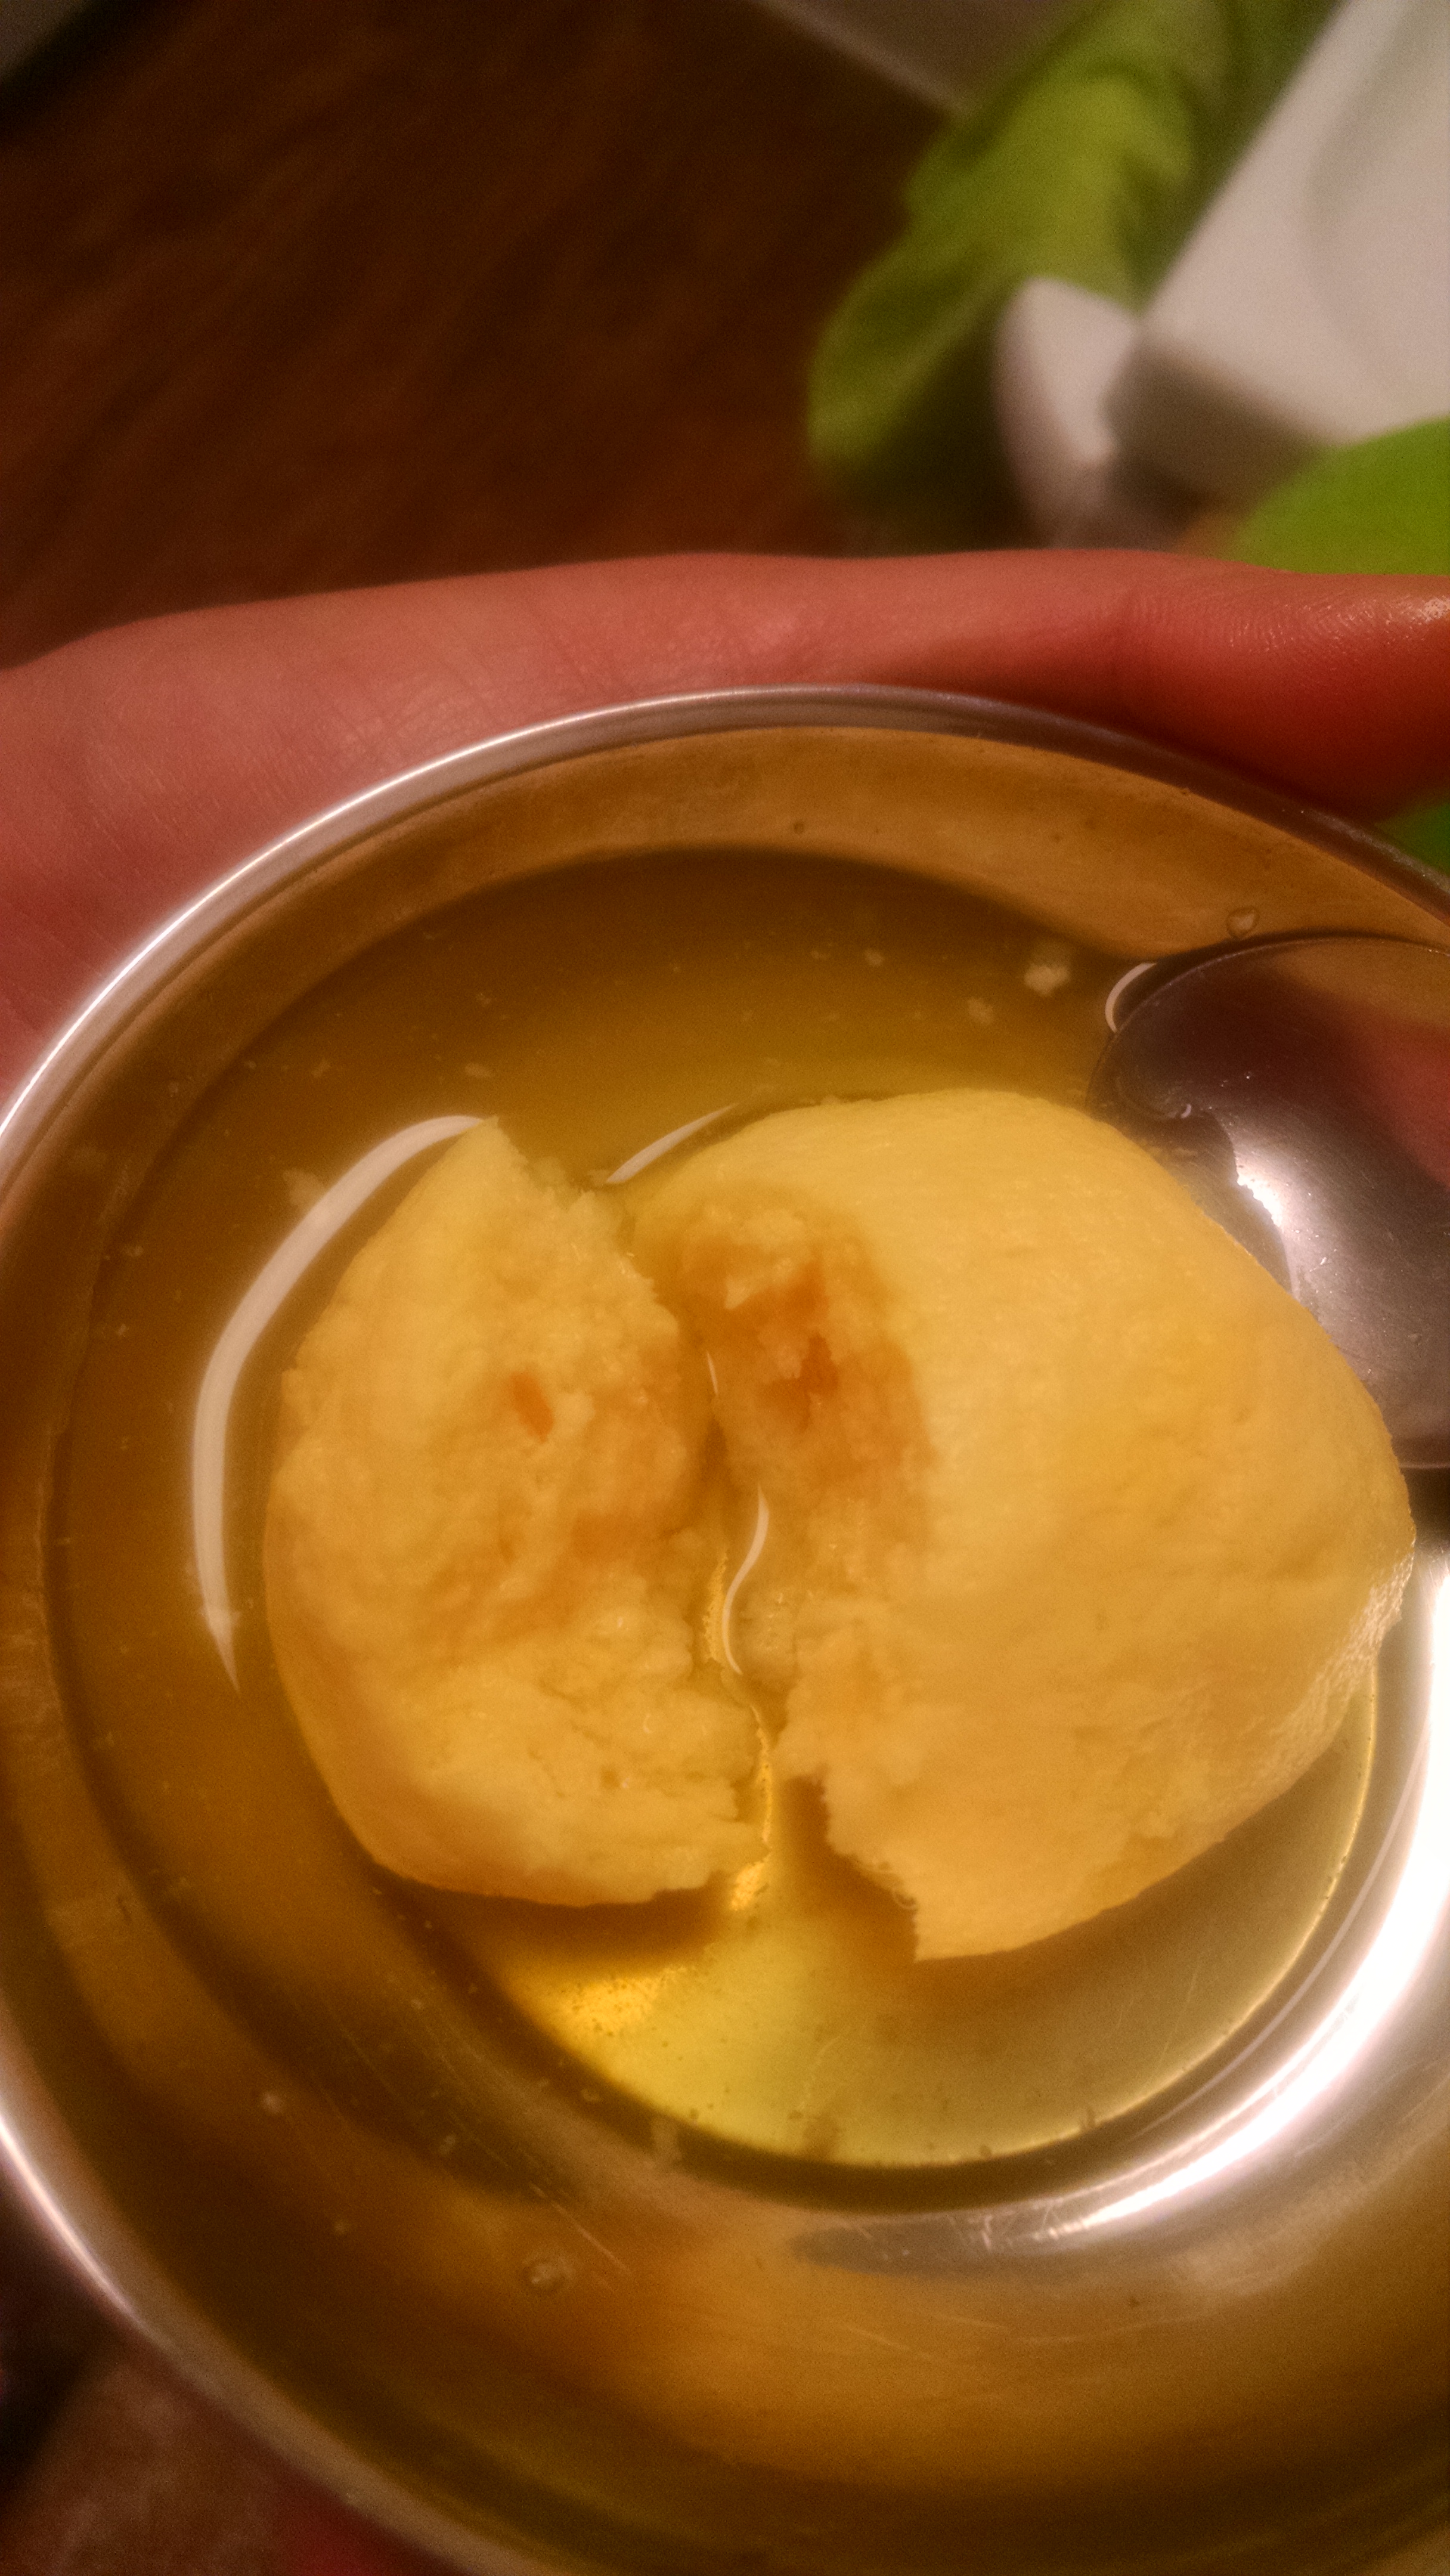
Summer Vacation has started for almost all the mothers. Children have started troubling you all with new demands every day. This sweet which is exactly similar to Bengali Rasgulla in taste but differs only in color is always children’s favorite and its cool nature leaves a delicious effect on your tongue through your throat in hot season.
Rajbhog is a rasgulla which has saffron(kesar) in it and normally yellow in color.In contemporary times, kings used to ask for shahi rasgulla ,so to give it a royal look n feel,they used to add saffron strands in it.
Although many of us are of the perception that making rasgulla requires a good deal of art and involves risk. But if you keep certain points in mind, you would not make a single mistake and your rasgullas will come out perfect. Believe me this was my first attempt and all it took was patience before opening the lid and some concentration. Without much delay lets proceed to the recipe now>>
INGREDIENTS:
1. Milk (whole) – 1 Litre
2. Lemon Juice – 4 tbsp
3. cold water – 2 litres
4. sugar – 1.5 cups
5. saffron strands(Kesar) – 15-20
6. Yellow Color – a Pinch
7. Water – 3 cups(600 ml)
METHOD:
| Preparation time : 10 mins | Cooking time : 25-30 mins | Serves 2 persons |
Take a pan and pour milk in it. Place it on a burner and bring it to a complete boil.In the meanwhile squeeze out lemon juice from 1 lemon in a bowl.
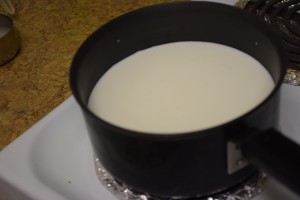
This would take 5-6 mins. Now turn off the heat and let it cool on the stove for 2 mins exactly. Because we need a soft Chhena(cottage cheese) for the rasgulla. If you add lemon juice to the rolling boiling milk,it will curdle and form hard Chhena.
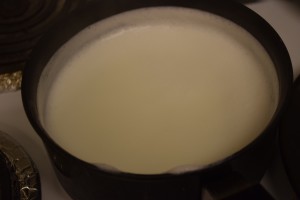
Now add the lemon juice 1 spoon at a time and stir it constantly till it curdles.You may dilute the juice like 4 tbsp lemon juice in 4 tbsp water before adding to the milk. This will not impart as much sourness as the concentrated one.
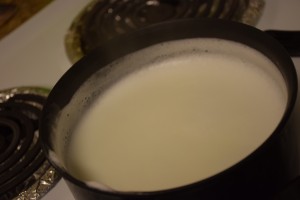
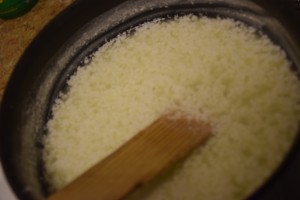
When you see the milk separated in the form of greenish whey and the paneer particles floating around,stop adding juice. Now quickly transfer the contents through a muslin cloth ,then a sieve and then into a pan. (If you don’t wish to throw this water,you may use this water for kneading the (whole wheat) dough later on).
Now run cold water on this chhena collected in your cloth, wash it well to remove the sourness and help it cool down instantly. You may pour cold iced water through a jug too,but I prefer washing it in cold running tap water.
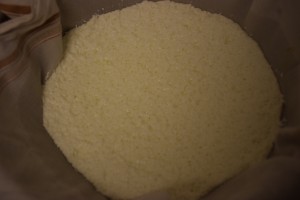
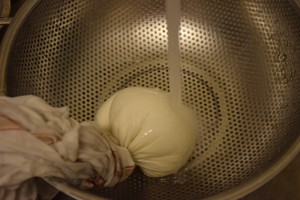
Squeeze the cloth sufficiently to ooze out excess water from the chhena. Don’t make it too dry by hanging in a cloth or keeping it under heavy weight.
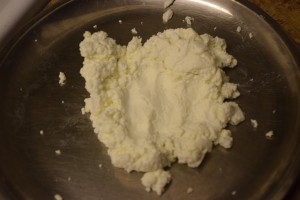
When your Chhena has dried then take it out in a plate. Now mash it with your hands so that it becomes smooth and softer in texture such that it starts coming together like a dough.Add yellow color to it once it is kneaded well and gets a smooth texture.
(Note: if you use a fat -free/fat less milk you will get less chhena and it will be dry too. SO in that case you need to crumble the pieces of chhena in a small mixer and grind it to make it smooth for 2-3 mins. After that knead with your hands.)
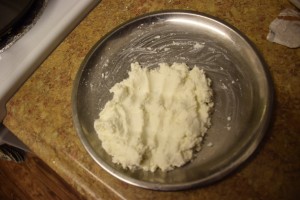
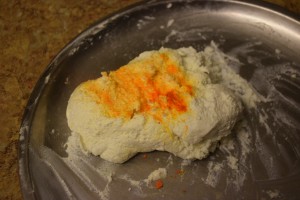
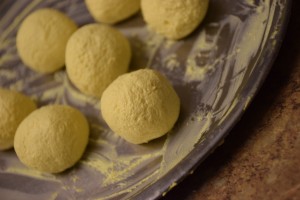
- Now start making balls out of it of the size of Amla. While making balls if you see any cracks then knead it again with your hands,then take a small portion of the chhena ,press it between your fingers and palm well 4-5 times ,then make a round out of it.Since these balls will swell up in the cooker and then in syrup ,hence don’t make them too big. I was able to make 7 out of this quantity. While making balls you will notice some oil-kind of thing on your hands, this is the fat that is released from the chhena.
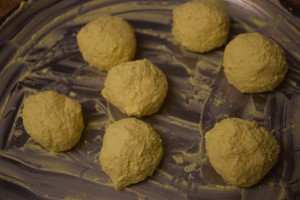 See the stickiness ans softness of paneer in the above pic.
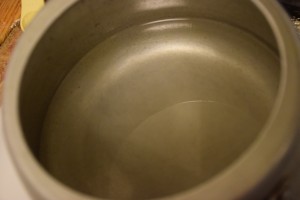
In the meanwhile add 600 ml of water in a 3 litre cooker and add half cup sugar to it. We will not add all the sugar in it at this time ,but will make the sugar syrup later on.
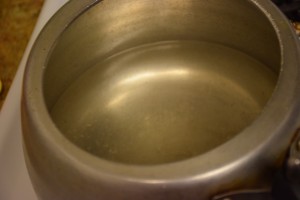
When the water in cooker comes to a rolling boil, start adding your chhena balls slowly in the water without touching each other.
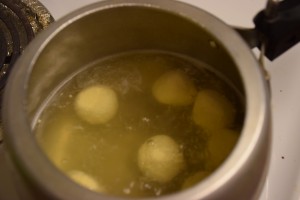
Now close the lid and bring 1 whistle in it.
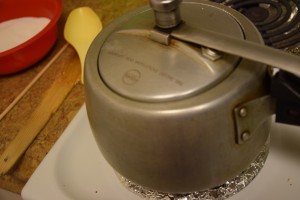
As soon as the whistle comes,bring the heat to lowest temperature.
Let it cook on this heat for 5 mins.
Then turn off the heat.At this stage you may release the pressure by lifting the vent or whistle of the cooker,but don’t open it. Now let it cool down on its own for 25 mins. We will not run cold water on the cooker to release the pressure instantly so as to avoid the temperature attack on this dish.
Once the pressure is released , open the lid, and take out the rajbhogs in another bowl.
Start making sugar syrup for these. So add the remaining sugar , saffron 1 cup of water in the same rasgulla water and bring it to a rolling boil.
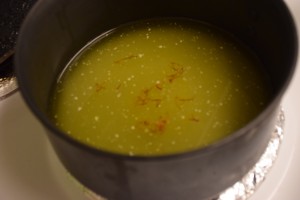
Check the consistency of the syrup by dropping one drop in a plate. Pick that drop with your index finger and placing between your index finger and thumb, try to stretch these fingers away from each other. If you see one thread has formed ,then turn off the heat.
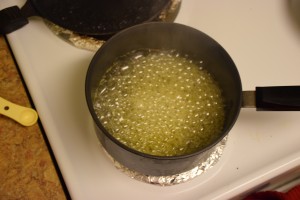
Let the syrup(chashni) cool down to the room temperature, then pour it on your rajbhogs.
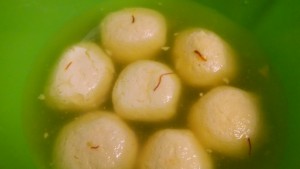
Refrigerate it for 3-4 hrs before serving. It tastes best when cooled properly.
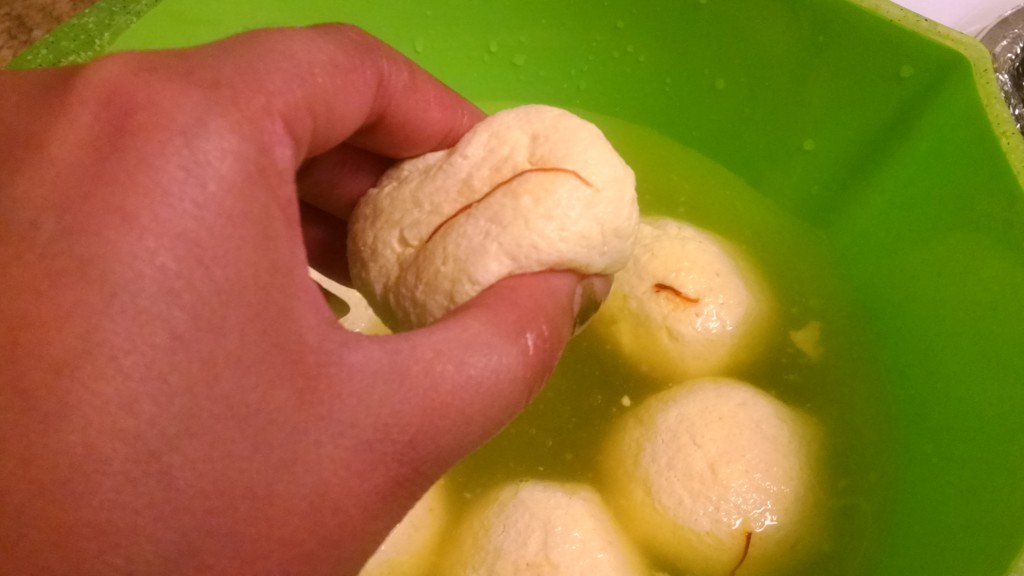
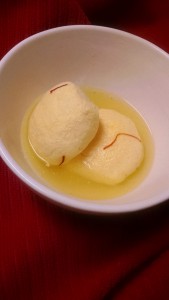 On the same day they were light yellow in color.
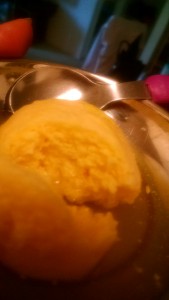 But on the next day as you may see, they have gained the saffron color from the syrup too.
See the mesh in the above pic!!
And the Video attached below :
Enjoy and share your experiences here!! I wouldn’t say it is a fail -proof recipe,but it will surely encourage you to make sweet dish on your own.