Home-made Pav
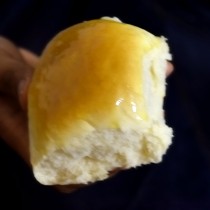
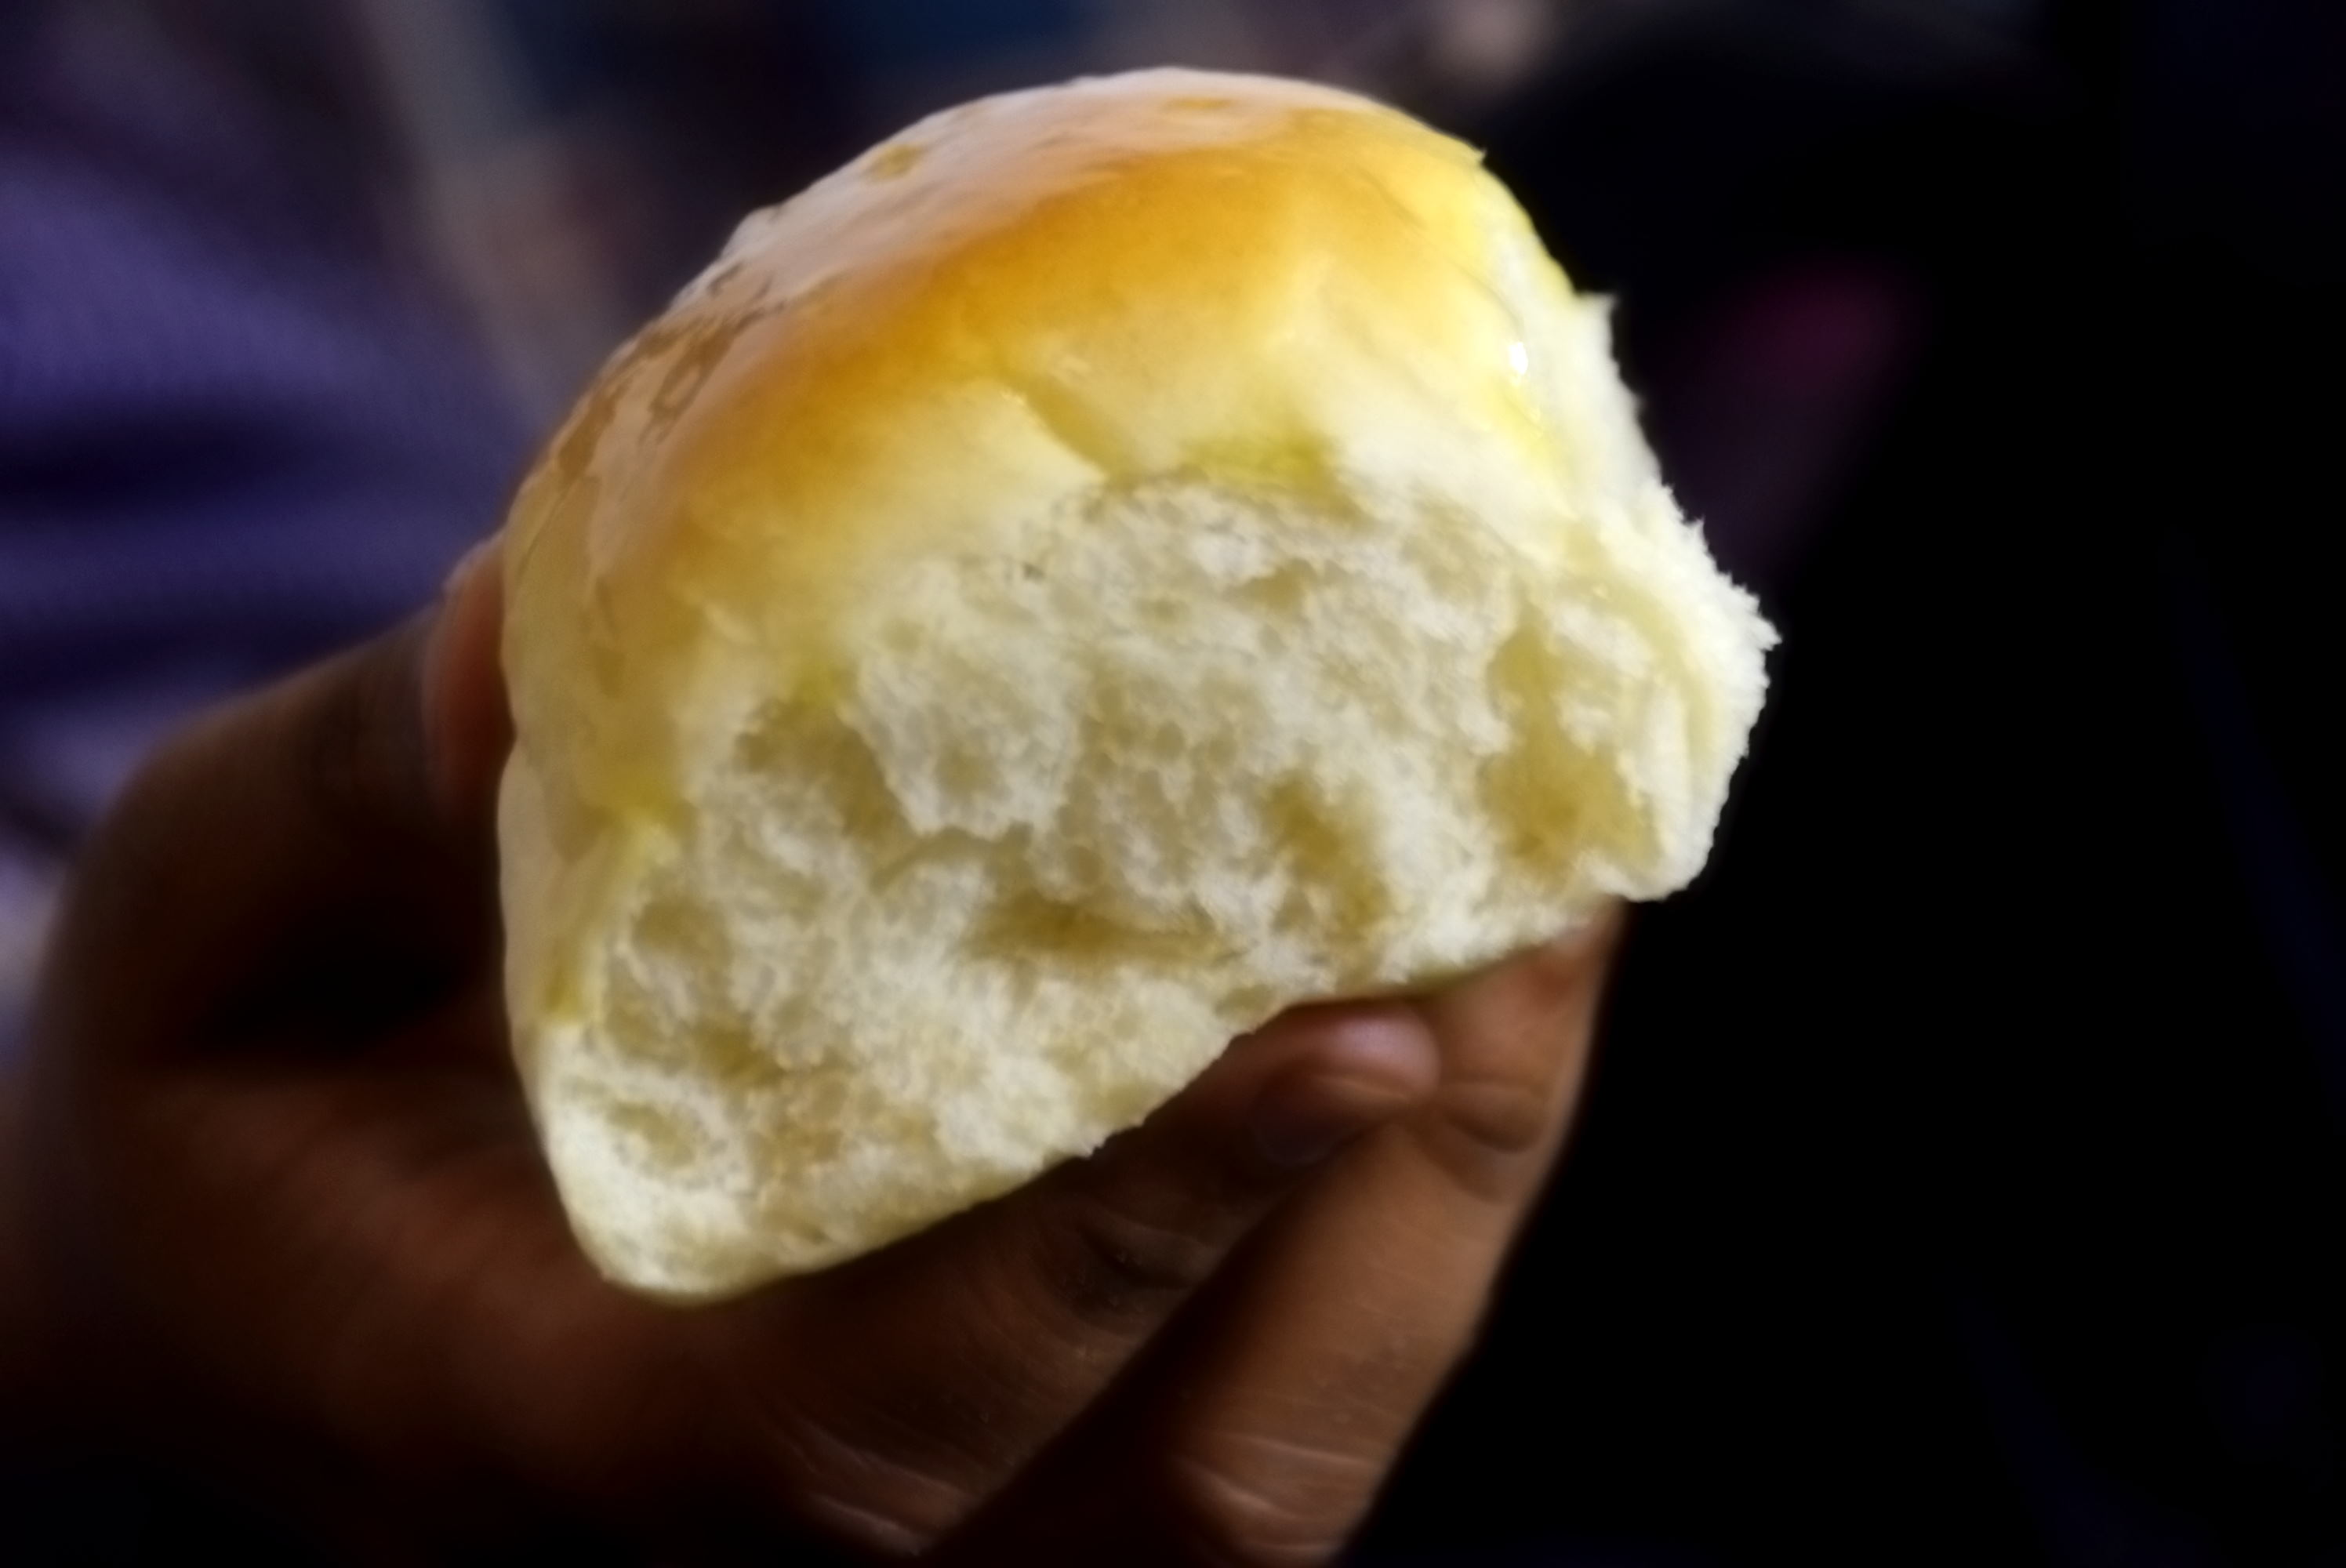
Pav , a soft meshy spongy bread , is well-known in India and all over the world now. Before moving to US , I never thought of making Pav at home. But I wanted the eggless staple Mumbai’s Pav taste and thanks to Shital’s recipe that finally I made an attempt of making Pav at home.
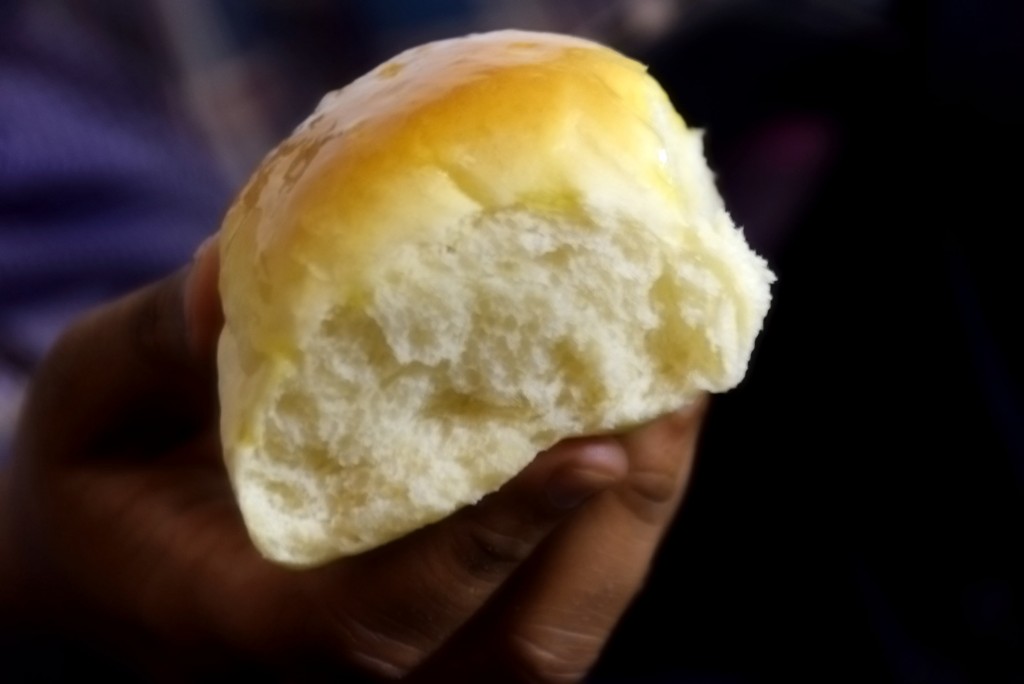
Again I didn’t get the perfect texture outside and inside in the 1st attempt, but Keeping all notes and points in mind I got them right in the 2nd attempt. Believe me after making them at home, you wouldn’t like the store-bought pavs anymore. However, there are certain points to be kept in mind while making them at home.
**INGREDIENTS:/strong>
1. All purpose Flour (maida) – 3 cups
2. Active Dry Yeast powder – 2 and 1⁄4 tsp
3. Sugar – 2 tbsp
4. Unsalted Butter(melted) – 3 tbsp
5. Salt – 1 tsp
6. Water – 1 and 1⁄4 cups or as needed
7. Dry flour – for dusting and kneading.
METHOD:
| Preparation time : 2 hrs | Cooking time : 8.5 mins | Makes 12 pavs(standard size) |
First of all take a tureen(paraat) and sieve the flour in it. The more(2-3 times) you sieve the better.
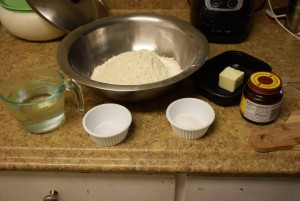
Now warm the water for 20 sec in microwave. Add yeast and sugar to it let it rest for 5 mins.
Melt the butter either in microwave or on stove as per your convenience.
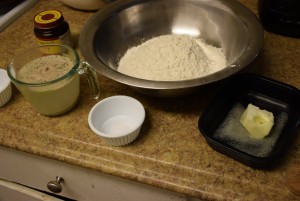
Mix the salt, butter in the flour with hands and mix well. Now start adding the water in parts to make a soft dough. Depending on the flour , the water required may be less or more. If the dough gets too sticky don’t worry just add in some more flour to it or if it gets too tight, add some more water (1 tbsp at a time) to it.
Knead the dough well by greasing your hands for 10 mins. The more you knead the more it gets aerated.
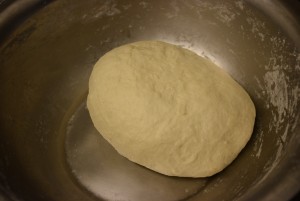 Some people ask me that how do we know that our dough is ready to be covered and rest.For this just see this video below. After kneading the dough if the dough slowly comes back to you on poking a finger , it is ready to rest.
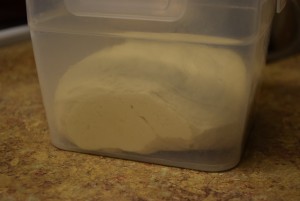
Keep the dough covered on the counter for 1 hr. The dough will double in size in this time. Here , please be careful while keeping it in any closed container, because as the dough rises it may come out through the container and fall off too. In my case , unfortunately , 🙁 the lid of the container broke because of the pressure of aeration.
Before 1 hr>>
 After 1 hr
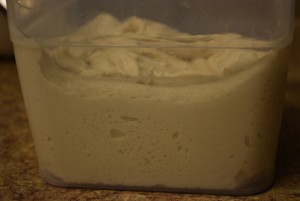
After 1 hour ,take out the dough knead it again for 5 mins .
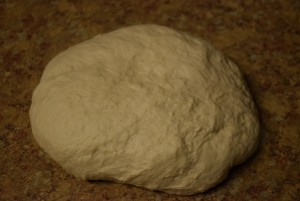 After kneading again, the spingy dough comes back quite quickly to u, as shown below>>
Now divide the dough in 12 equal parts using a knife ,a cutter or hands.
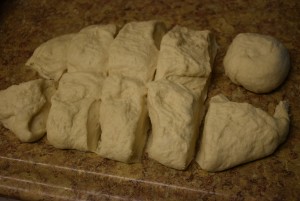
Press each portion between your palms well such that the dough springs back to you once you remove the pressure. Yes the dough has gained a lot of elasticity till now. Make balls (pedha) out of them. Grease a 9″by 12″ pan and dust it with some flour to ensure no spot is left un-greased.
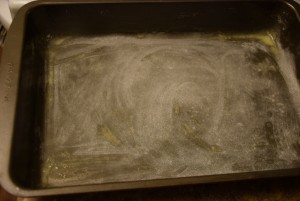
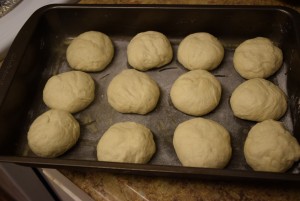
Line all the balls thus made in the pan and cover it with a damp cloth for 45-60 mins again.
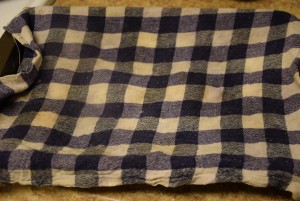
After 1 hr, you would see them well puffed up and some black air bubbles in the dough.
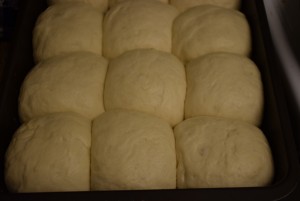
Preheat the oven to 450 Degree F. This would take around 15 mins.
When the oven is preheated , keep the loaded tray in the middle rack for 8-10 mins. Set the timer immediately and monitor them through the window of the oven. In my 1st attempt I accidentally baked them for 14 mins and they turn extra brown and hard from outside. So just be cautious.
I took them out after 8.5 mins and transfer them on a cooling rack.
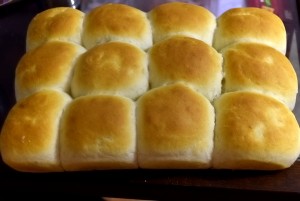
Let them come to the room temperature before serving.
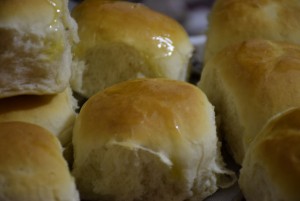
You may store them in a large size zip-lock bag or a transparent polythene for future use. They stay fresh and soft for a week.
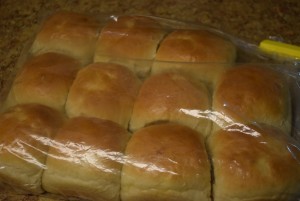
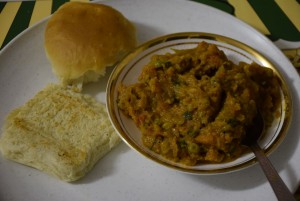
Serve them with your favourite Bhaji, vada, or just apply butter and enjoy!
Please feel free to ask or comment!!! Till then happy baking !! 😀