Eggless Brownie (cake-like)
We are expecting
Thanksgiving in a few days !! 😀 So why not celebrate it with kid’s favorite sweet. 😉 I made them for my husband’s office potluck party for thanksgiving.
My inspiration for this recipe is my dear friend Priyanka Gupta. I call this as an Amateur’s recipe because I have made it first time from the scratch and hence anyone who will try this is bound to get good results.
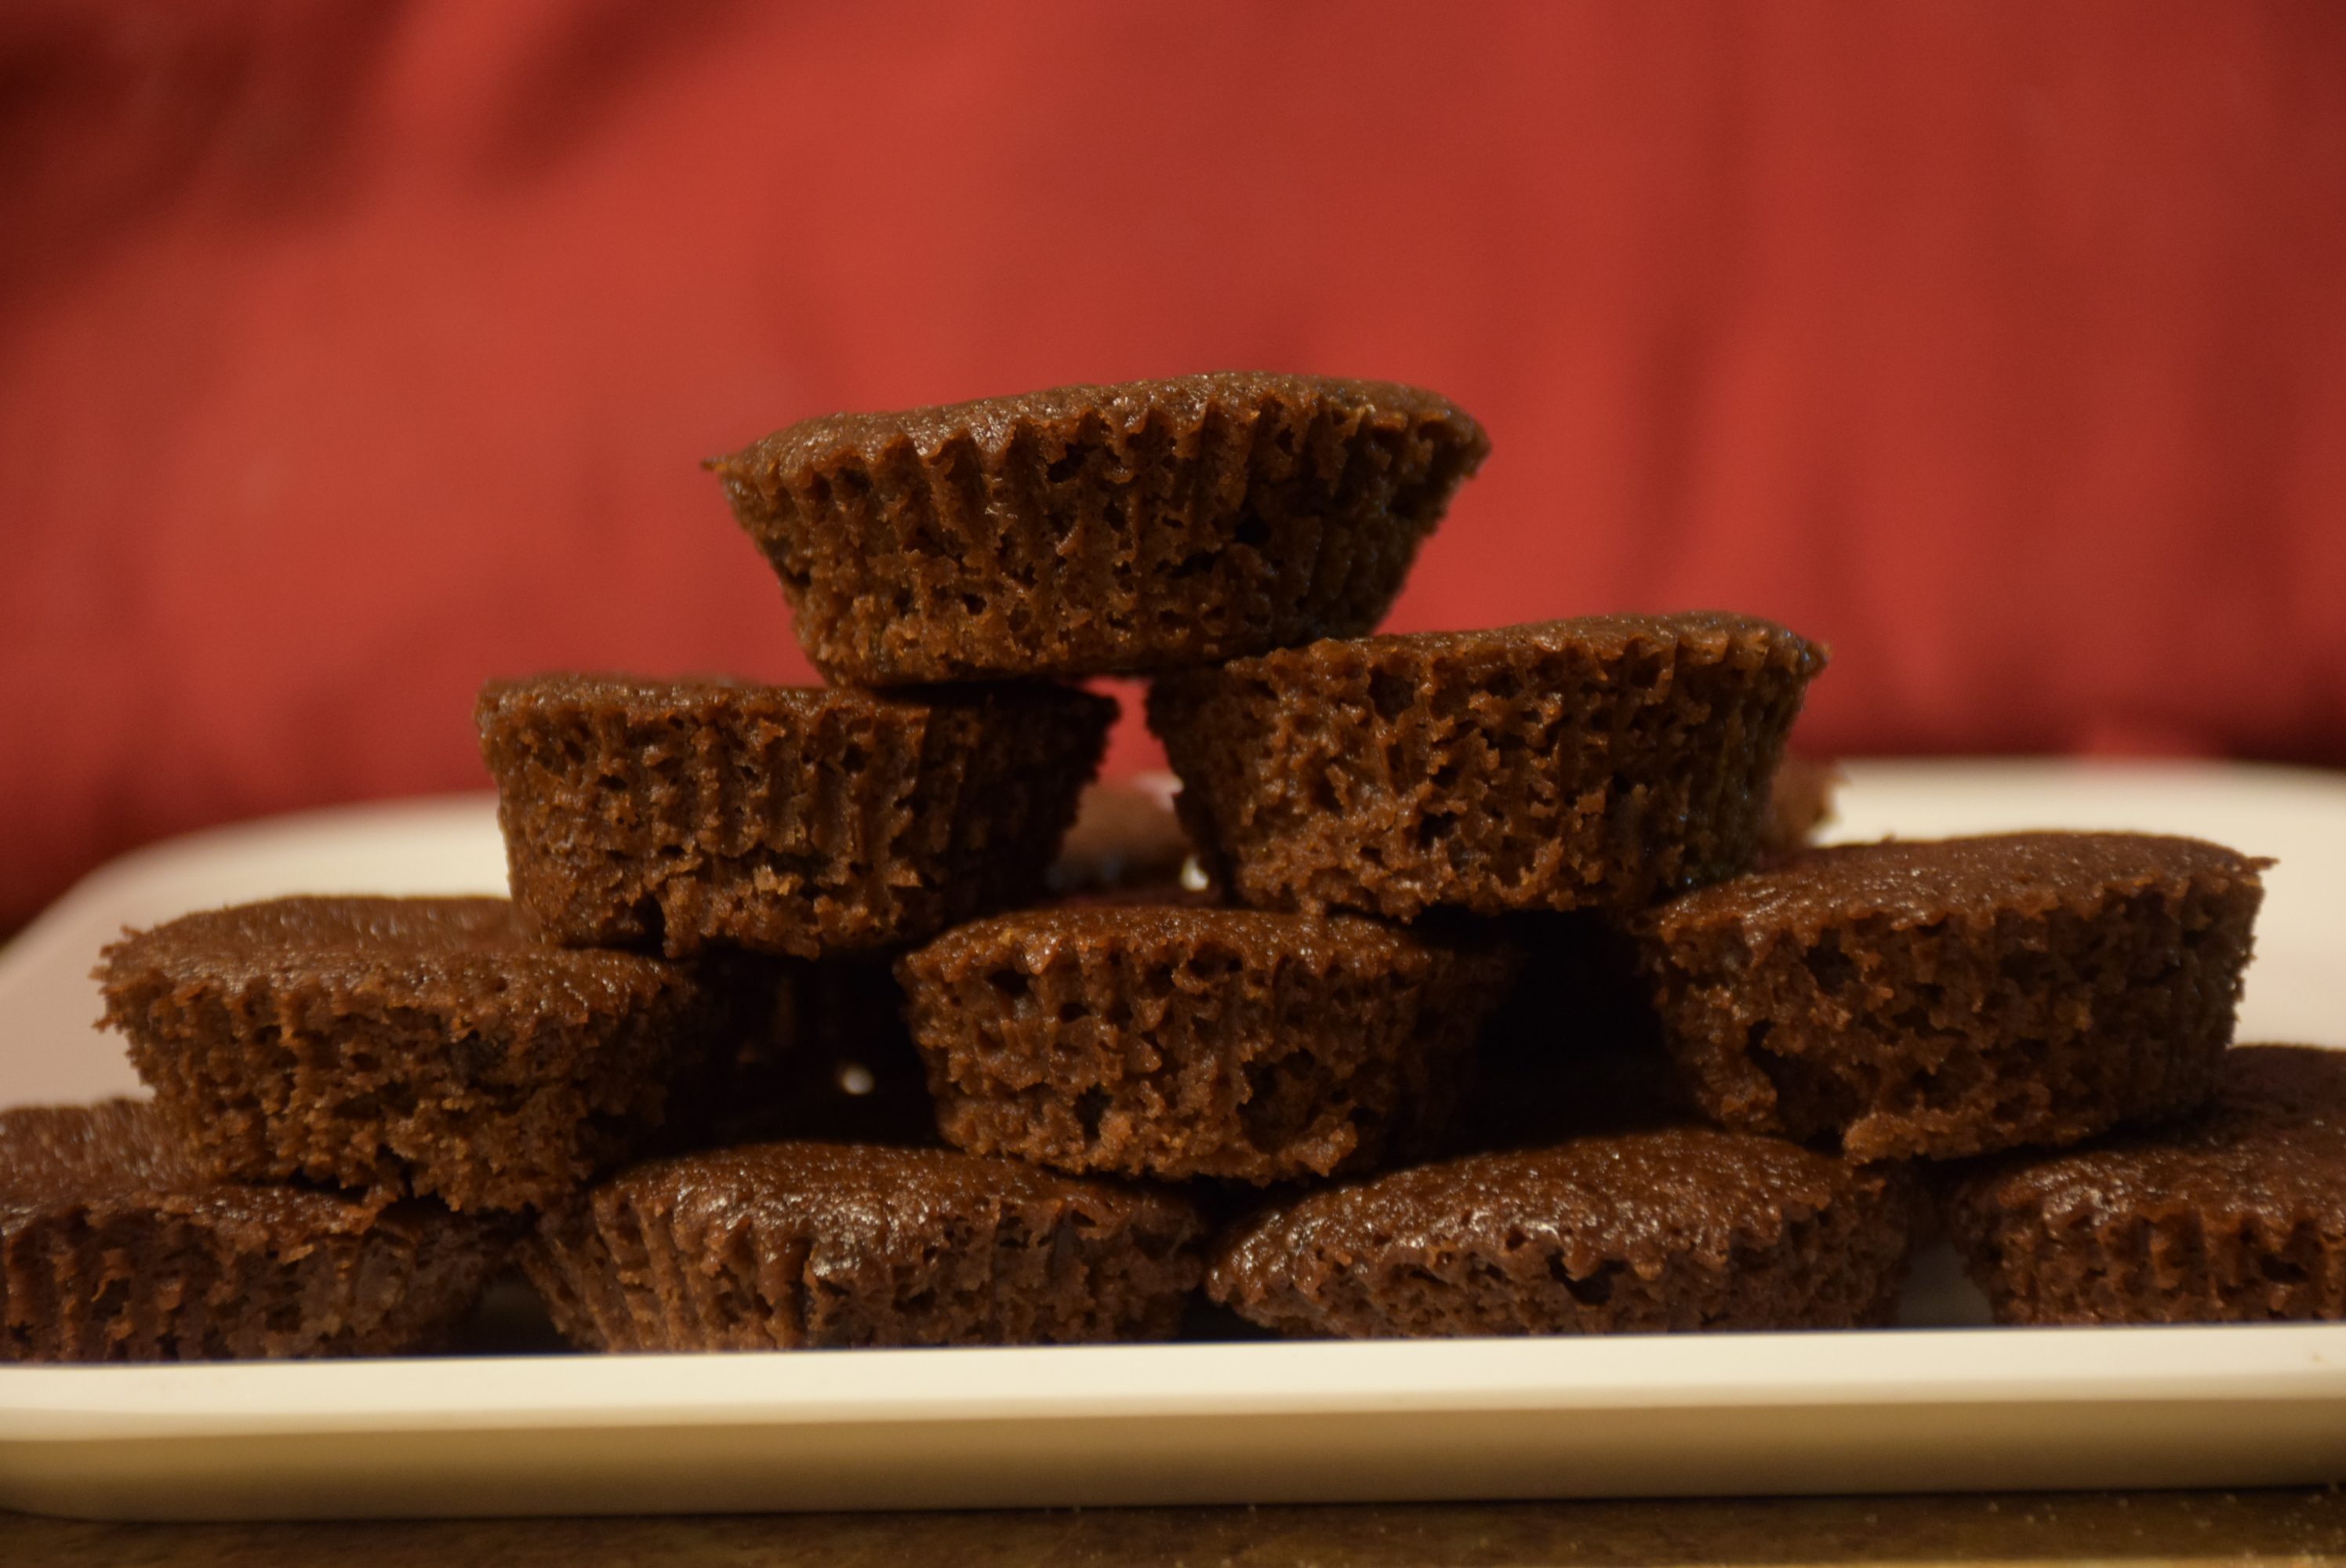
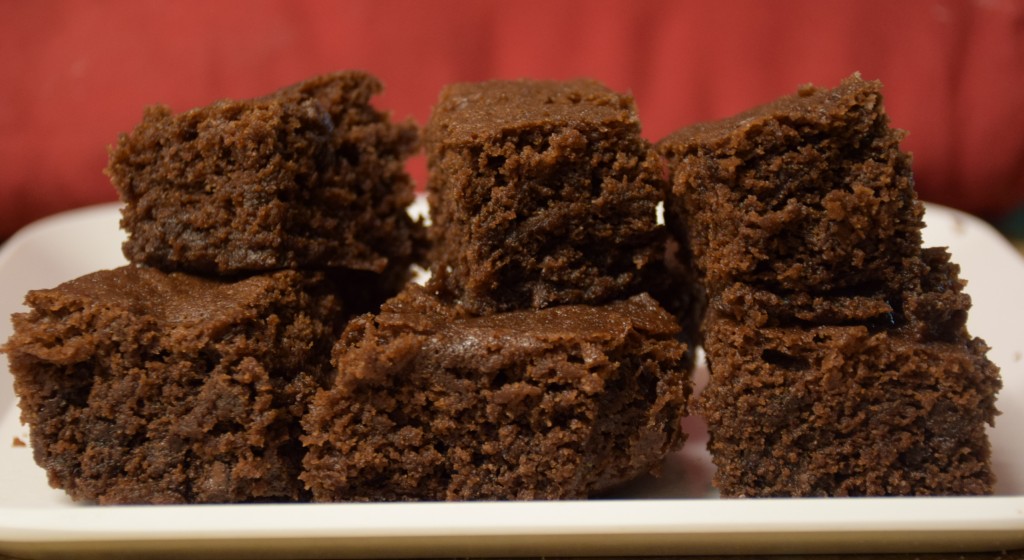
Brownie, chewy from outside and soft ,moist inside . So no more store -bought brownies after learning this easy time-saving recipe. I will share both microwave and oven’s recipe here, so stay tuned. The beauty of this recipe is its simplicity and its variant serving styles. You may drizzle some nutella on hot brownie or serve it with cool-cool ice-cream of your favorite flavor. Eat it as it is or just top it with whipped cream or chew it with hot coffee. Indulgence is yours and choice is yours !! 😛
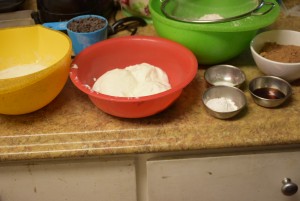
INGREDIENTS:
1. All purpose flour (APF)/ Maida – 1.5 cups or 3⁄2 cups
2. Unsweetened Cocoa powder – 2⁄3 cups
3. Sugar – 2 cups
4. Salt – 1⁄2 tsp
5. Baking powder – 4 tsp
6. Unsalted butter – 1 cup (2 sticks)
7. Yogurt – 1.25 cups or 1 and 1⁄4 cup
8. Vanilla extract – 3 tsp
9. Semi -sweet mini chocolate chips – 1 cup (optional)
METHOD 1:
| Preparation time : 15 mins | Cooking time : 30 mins | Makes 65-70 mini cup size brownies |
In Oven>>
1. Sift the dry ingredients together through a sieve in a large bowl viz. namely APF, cocoa, salt, baking powder etc.If you are adding salted butter,skip the salt. Melt the butter in microwave or on stove and let it cool to the room temperature.
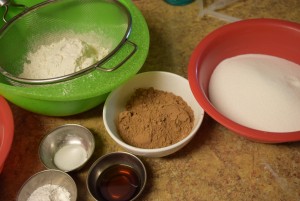
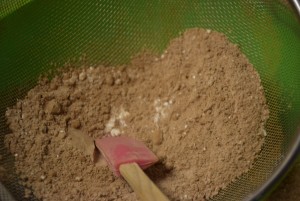
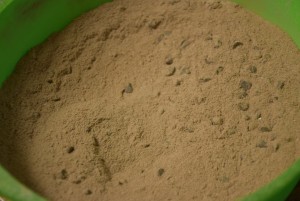
Now add the sugar and chocolate chips and whisk them together with a spatula or a spoon.
In a separate bowl, add the whisked yogurt and melted butter which is cooled to room temperature and mix them well.
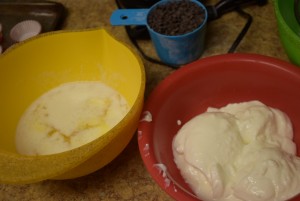
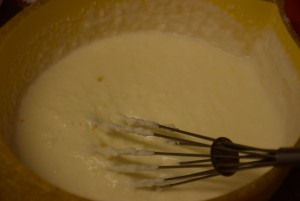
Now add the vanilla extract and stir the wet ingredients again.
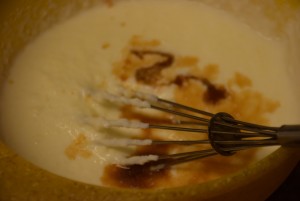
Transfer the contents of wet bowl to the dry one slowly in parts while combining all of them together with a spatula. Please don’t over mix the batter or it will lose the aeration.
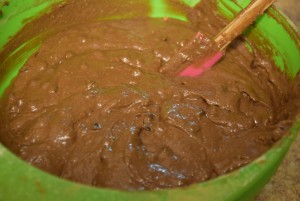
Now either grease a rectangular or square tray with oil or margarine. I ,however, just placed the paper cups in a tray and added a spoonful of batter in each cup such that they are not more than 3/4th filled. Don’t fill the cups to the top and also don’t add too little that the batter gets burnt while baking. If you are adding the batter to the tray make sure it is well greased and lined with parchment paper which is greased again.
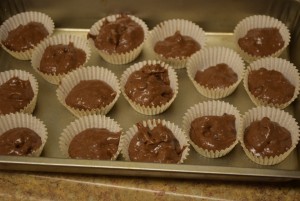
Keep the tray in the preheated oven at 180 degree C or 350 degree F for 25 -30 mins.
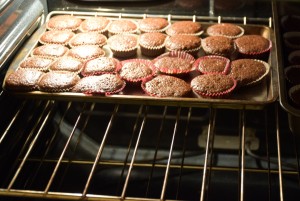
Take out the tray after 30 mins and check with a tooth-pick inserted in the center. If it comes out clean it is ready. If not, keep it in the oven for another 3 mins and then check again.The whole kitchen will be filled with a chocolaty aroma of these brownies and you will see a group of kids roaming around in a few minutes. 😉
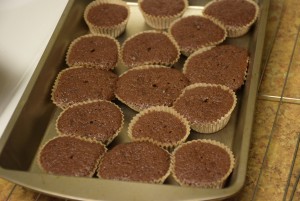
Let them cool on the cooling rack for 35 -45 mins till they reach the room temperature. It’s essential to give them this standing time because they will get cooked from inside too with the retained latent heat and will dry out from the surface which will help in easy de-molding of brownies and prevent them from crumbling. Then peel the paper cups gently without breaking these brownies.
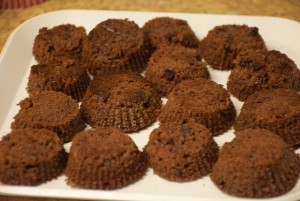
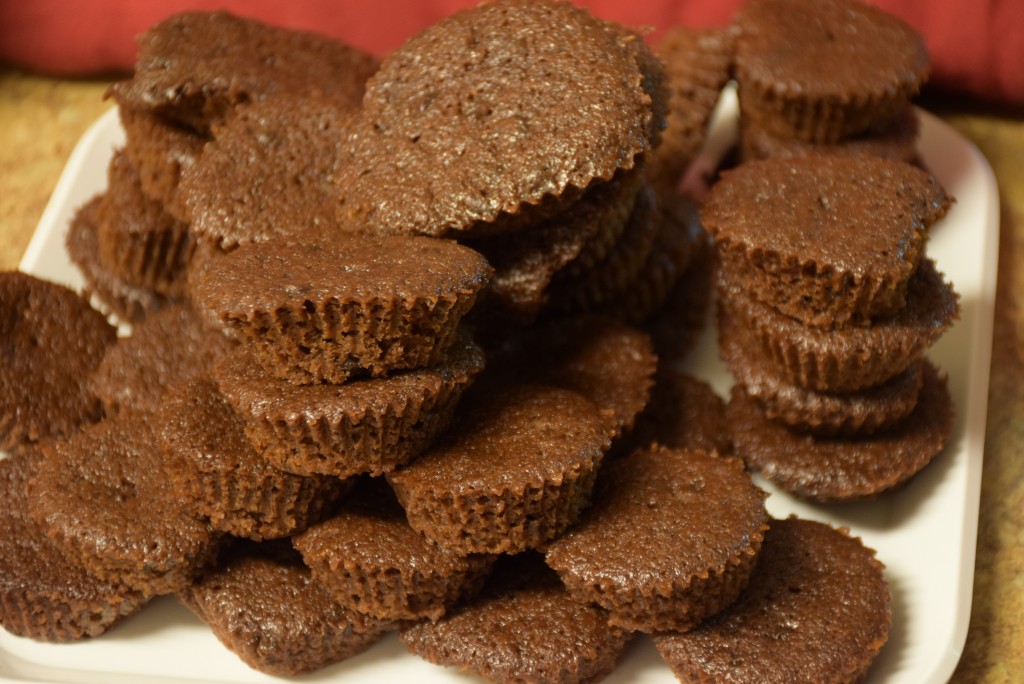
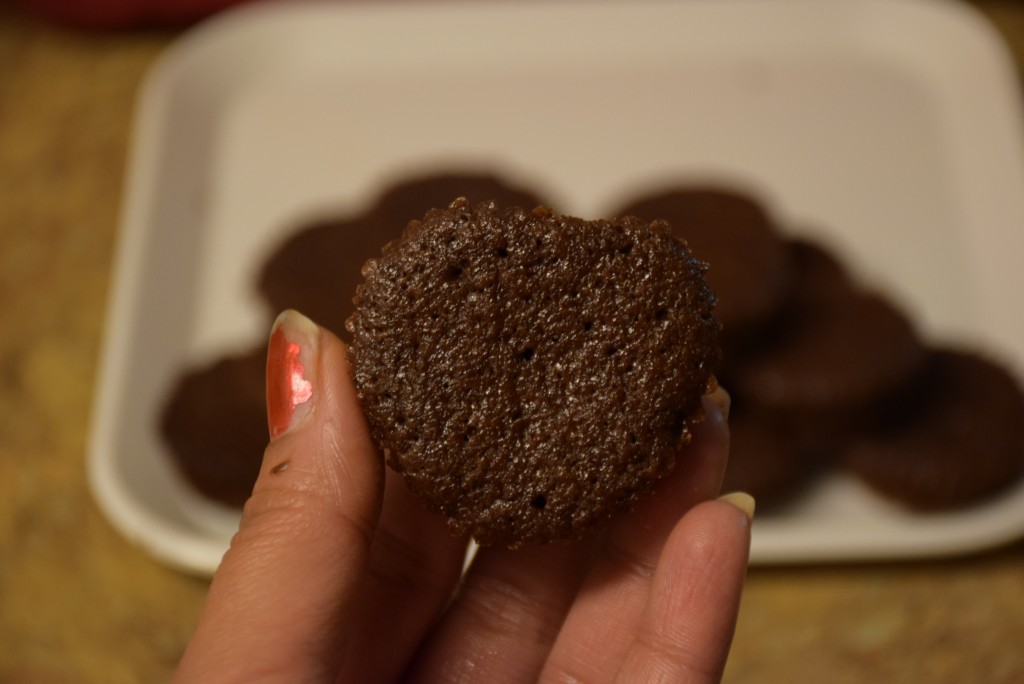
Since they are cake-like brownies, hence they are soft and tender from inside and dry on the top. If you don’t like them more chocolaty, you may skip the chocolate chips I added and add some nuts of your choice.
METHOD 2:
In Microwave>>
We need :
1. APF – 1⁄2 cup
2. Sugar – 1⁄2 cup
3. Cocoa powder – 3 tbsp
4. baking powder – 1 tsp
5. salt – 1⁄6 tsp
6. Unsalted butter – 1⁄4 cup
7. yogurt – 1⁄3 cup + 2 tbsp
8. Vanilla extract – 1 tsp
9. Semi- sweet mini chocolate chips – 1⁄4 cup (optional)
_ P.S. : The ingredients will remain the same in proportion as taken above. I have just divided them in thirds approximately according to the batter left with me._
- Repeat the steps from 1 to 5 again for this method. The advantage of microwave method is the less time and a more gooey and chewy texture than the oven method. The disadvantage is the risk of getting them burnt.
Now take a microwave safe shallow bowl or tray and grease it well lined with parchment paper. Pour the batter prepared in the above step and make it smooth with a spatula.
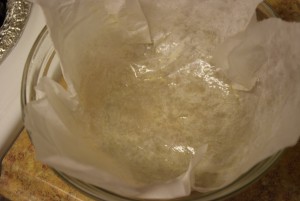
Keep the bowl in the oven for 3 mins at high power. Take out the bowl and check with a tooth-pick inserted in the center.If it comes out clean its done ,if not keep it again after 5 mins for 1 min. Give it a standing time of 5 mins before baking it again in microwave.
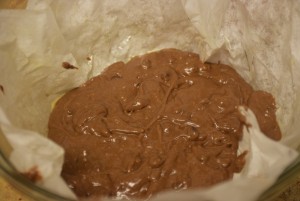
While making in microwave it is advisable not to use chocolate chips, because they might melt with the heat absorbed later on and make your brownies denser. So its better to use nuts instead or just skip them.
Let it cool on a cooling rack for 45 -60 mins. Yes although the cooking time is less but the cooling time is more for these microwave brownies.
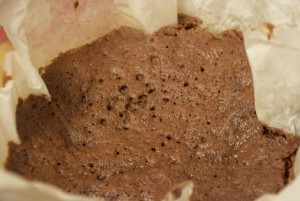
Transfer them in a plate and cut cubes with a serrated knife when it has reached the room temperature.
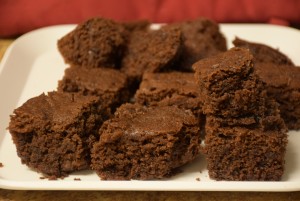
Serve them immediately and enjoy!! 🙂
Please feel free to ask or suggest in the comments below!! 🙂
Till then Happy Thanksgiving and happy baking!!