French Macarons
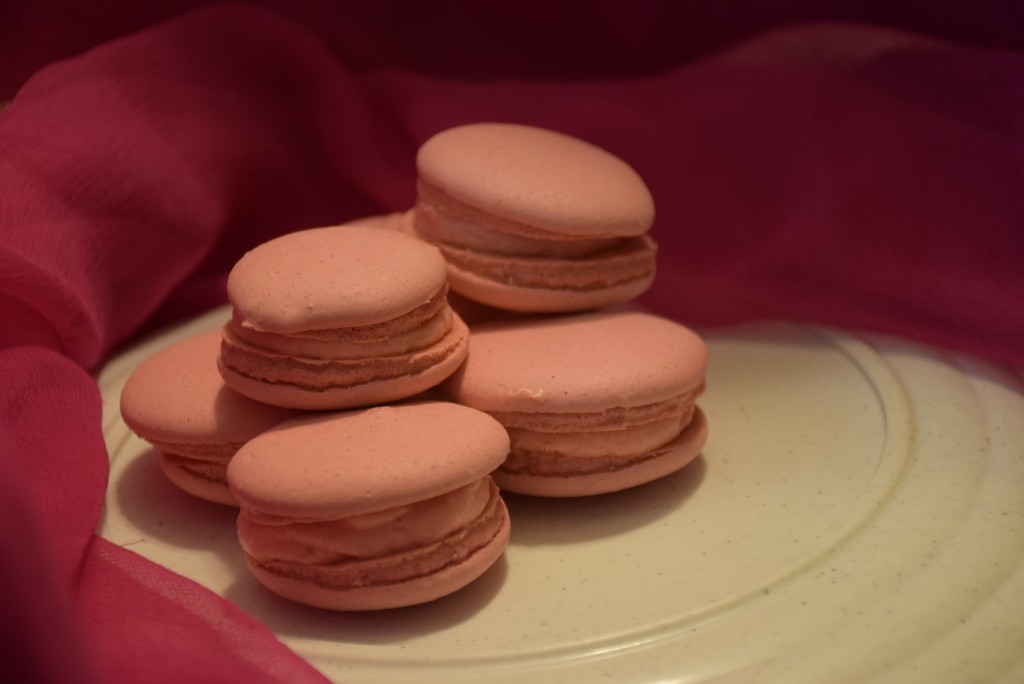
Hello friends !! I am very excited today to share with you all one of my favorite cookies’s recipe.. hmm yumm .. the word itself brings water to the tongue.. the Egg-less French Macaroons ! Their matty covering on the top with softness of cream in the middle make them a perfect chewy, gooey cookies .
The biggest confusion is to follow which recipe as there are hundreds of eggless and eggy recipes which need French or Italian methods to make them. There was a time when I made up my mind to follow the Italian method as it involves less risk, more accuracy and more concentration. But then I decided to follow the French method which although goes by some estimations ,but it does not need a weighing scale, a candy thermometer and other recordings of that level. I will try to brief all the details I collected from the internet in this recipe. 😀
Since this was my first attempt, I expected failures and I faced them too. But in the end I learnt the right recipe for my oven , for my ingredients. 😛 Though all didn’t reach the perfection level, but some did and I was happy with them. Nevertheless ,they taste good even if they turn out bad. So don’t worry and roll up your sleeves to delve in this lip-smacking recipe.
I am of Indian origin and these recipes were not my cup of tea, but when I succeeded in my attempt, I would suggest you to break the barriers of your mind too.
Oh yes, these are little finicky and need a lot of patience and perseverance. But this is all you need.
INGREDIENTS:
For Macarons:
1. Aquafaba – 3⁄4 cup reduced to 1/3rd cup or 250 gms
2. Ground Almonds (fine powder) – 7⁄8 cup or 150 gms
3. Powdered confectioner’s sugar or caster sugar – 1 cup or 110 gms
4. Granulated pure icing sugar (free from corn starch) – ( 1⁄4 + 1⁄3) cups or 130 gms
5. Vegan red food coloring – 4-5 drops
6. salt – a pinch (optional)
7. Cream of tartar or Citric acid – 1⁄8 tsp (optional)
8. Organic non-oil based rose extract flavor – a few drops (optional)
For Pink Frosting :
1. Hamdard Rooh Afza – 4 tbsp
2. Strawberries crushed in paste – 4 tbsp
3. Cream cheese( refrigerated) – 4 oz. (1⁄2 stick)
4. Unsalted butter or Salted butter – 1⁄4 cup or 1⁄2 stick
5. Confectioner’s powdered sugar – 2 and 1⁄2 cups
Or Chocolate Icing:
1. Nutella – a spoon ful for each macaron.
METHOD:
| Preparation time (incl drying): 3 hrs | Baking time : 30 mins | Assembling time: 20 mins | makes 15-18 macarons |
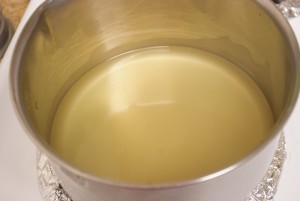
Aquafaba is the liquid drained and collected from canned Garbanzo beans(chhole).This is the key ingredient of this recipe. For preparing this, open the Garbanzo beans can (15.5 oz) with a can opener and drain the water in a container. Measure this water in a measuring cup, it will be around 3⁄4 cup. So boil it in an uncovered sauce-pan for 8-10 mins and then keep an eye on it. Measure it after 8 mins and check if it is reduced to 1⁄3 rd cup or not. If yes ,turn off the heat and let it cool down to room temperature. If not, continue boiling for 2 more mins. Refrigerate it the night before you wish to make macarons.
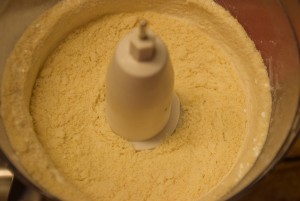
Take the food processor and add ground almond meal to it and run it for a minute to get the fine powder. You may grind the whole almonds too to a fine powder.
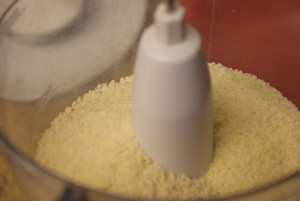
Next add the confectioner’s powdered sugar and pulse the processor again for 30-35 secs.
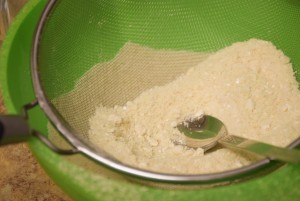
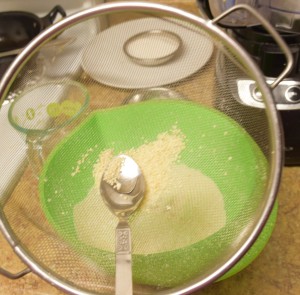
Transfer the dry mixture in a large bowl through a sieve . You will find some coarse big pieces of almond meal on the top of sieve. Eat them or discard them. This step is crucial to avoid any uneven top coating of macarons .
Now take your aquafaba(refrigerated or at room temp) and add it to a stand mixer or hand mixer’s bowl. Whip it on high speed for 2 minutes. I used my hand mixer.
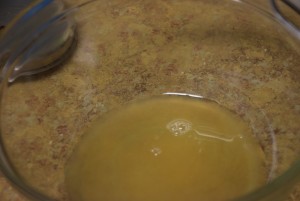
Then add the cream of tartar and salt and whip it again on high till it gets bubbly. Here I would like to say, it’s not necessary to add the cream of tartar and salt, you may skip them too. They only aid in beating faster and incorporating more air in the mixture.
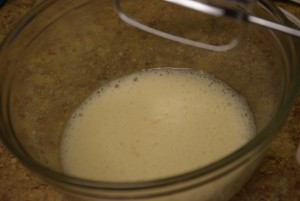
Now add the granulated sugar 1 tbsp at a time to the bowl and continue beating. Please don’t add all the sugar at once, since it will take more time to form stiff peaks that we need. So adding sugar slowly to the aquafaba is the key for a good stiff peak we need.Then add the color and flavor needed to the meringue mixture.
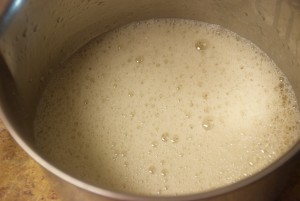
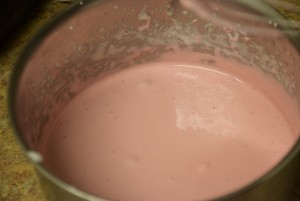
Continue beating till you get a stiff glossy peak ,which does not fall off the blade, and even if it falls , it goes very slowly. It took me 15-20 mins to reach this stiff peak with a hand held mixer. So it’s advisable to use always a stand mixer for making this meringue.
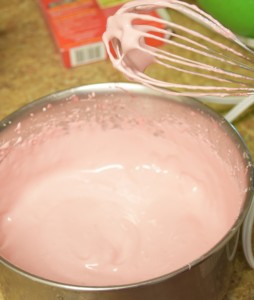
Now add the dry sieved sugar-almond flour mix to the meringue formed in parts and fold them lightly with a spatula. Its better to use a big spatula here. I added the dry mixture in 3 parts , side by side folding it with a spatula.
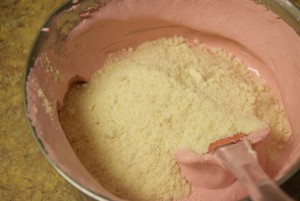
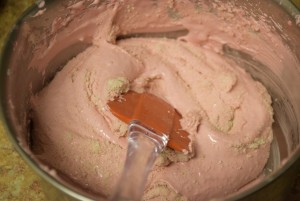
Now move your spatula from the bottom to the sides of the wall in one circular motion such that all the mixture gets well mixed 20 times. This is a crucial step again. Avoid overmixing and undermixing. However, little undermixing is allowed. To test the consistency of the batter, drop a spoonful in a plate or a bowl, if it settles down in 10 seconds ,it is ready. If not, give a few more folds and check again.
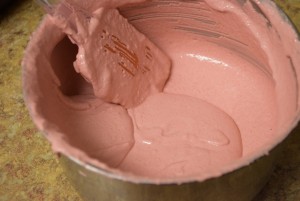
I used my freezer ziploc bag for piping. Just open them and place with one tip facing downwards in a glass. Now pour the batter with a spatula or spoon in the bag and push all the batter to one tip at the bottom . Seal it from the top with a band or a thread. Cut a quarter inch tip at the bottom.
Now take a flat tray and grease it with a non-stick cooking spray. Place the parchment paper or wax paper in the tray with marked circles facing downwards. I forgot to mark circles ,hence got oval ,circle and some weird shapes. 😛 (The parchment paper is ungreased , so that no oil touches the macarons.)
Pipe them on the spots marked on the paper in a blob and not in a circular motion and swiftly lift them when they fill the spot by twirling around a bit. Since I didn’t have sufficient flat cookie sheets, I used my flat cake pan upside down as a flat base for the macarons. It is crucial to have a flat ,levelled base at the bottom because the macarons then don’t develop their feet.
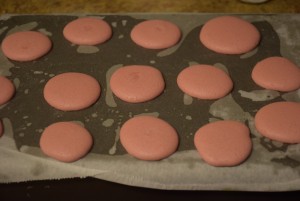
If you see some macarons have a pointed tip at the top, then just wet your one finger and flatten it with it. Bang the trays 3 times on the counter by turning them both sides to help escape the trapped air-bubbles immediately after piping. This would control cracks in the top to a much extent.
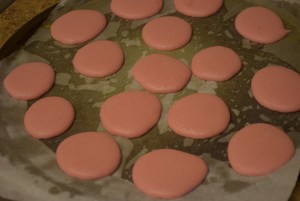
Let them set or dry for 1-2 hrs under a fan or till you see the matty look on top ,such that when you touch they don’t stick to your finger . Be careful while touching because they are very tender so they may develop some depression or might crack with your nails.
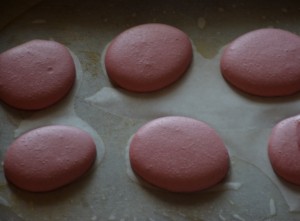
Preheat the oven to 230 degree F. I have a GE oven with an analog F temp controller. But if you have a digital F/C controller, you may set it to 210 degree F or 100 degree C . Set the tray in the 3rd level from the bottom.
Keep one sheet of macarons on the tray at a time and let it bake in the preheated oven. Lower the temperature to 250 as you keep them inside. Set your timer to 30 mins.
After 30 mins turn off the oven and let them sit in the oven for another 15 mins without opening the door.
Take them out and let them cool on the cooling rack for 30 mins.
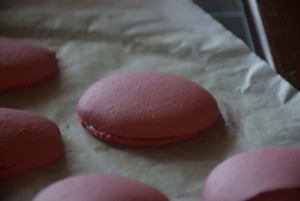
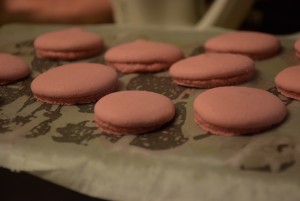
Keep the next sheet in the preheated oven and repeat the same steps from 16-19.
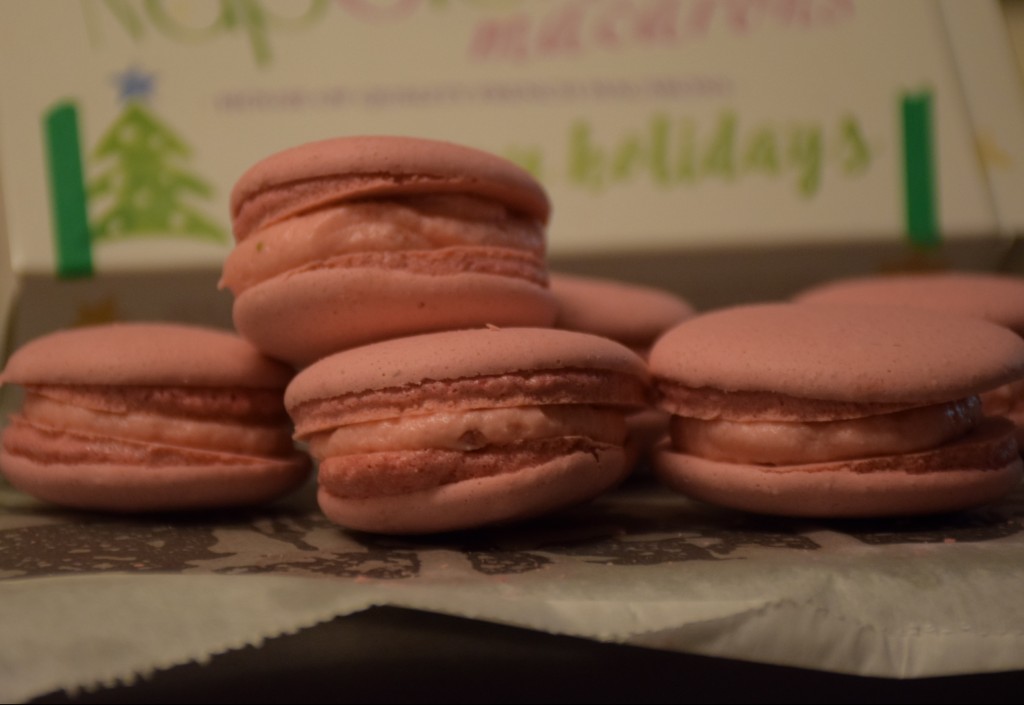
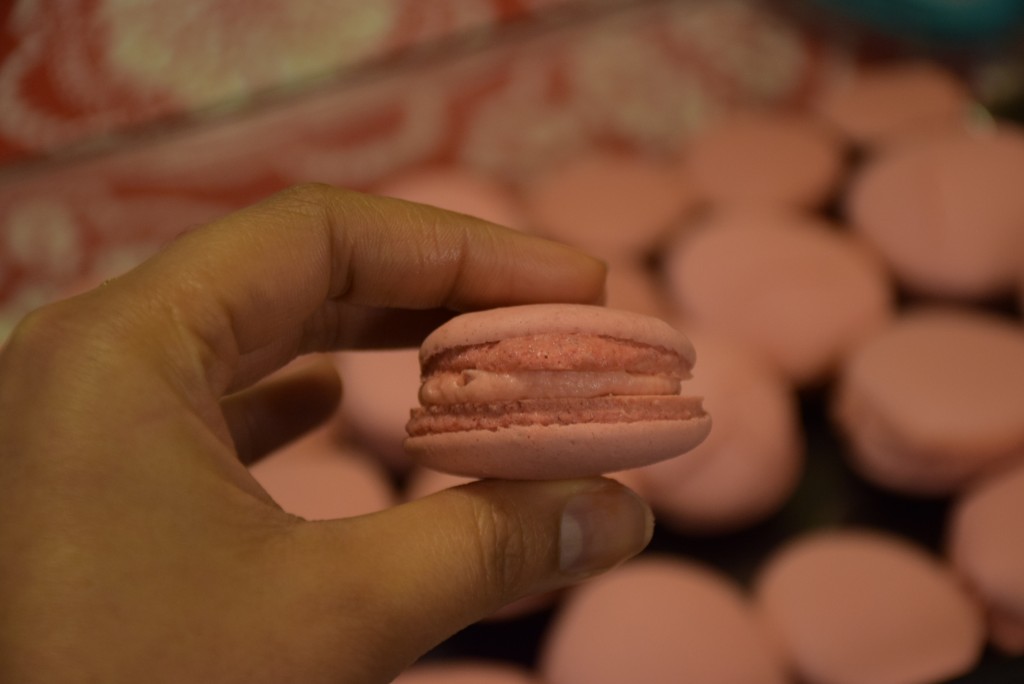
Once they cool ,they could be easily peeled off the parchment paper and you would see their pretty feet and flat base at the bottom.
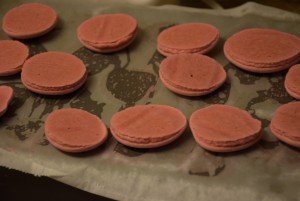
** Some science and facts about them** :
1. Macarons should be baked on a sunny day. It’s not that you couldn’t bake on a rainy day, but due to high air moisture content they will need more time for drying or setting. Macarons absorb moisture from the air while setting ,so when you bake them because of the matty layer they develop after drying , the air-moisture couldn’t escape from the top ,and hence it escapes from the bottom sides and hence they develop feet.
Sieving the dry flour-sugar mix helps prevent bumps in the macarons.
The color of the macarons fades on baking , so always add 2-3 drops of color extra than you need or want in the meringue.
If you are using eggs(3 egg whites) they should be at room temperature , so if you forgot to take them out earlier just dip them in warm water for a few seconds and then they are good to use.
Mixing of batter with 20 folds is important. In my first attempt my batter got a ribbon like structure and I over -mixed it to get flat macarons without ridges or feet. In the second attempt however, I undermixed it ,so I got some cracks on the top. This comes with practice, hence in my second attempt for my 2nd tray I got them right with perfectly puffed up, smooth tops and feet. The right consistency is when you don’t see the ridges or bumps of almond flour and it drips slowly from the spatula in a viscous form.
Always pipe them in a blob and not in a circular motion , they will trap less air this way. You need to bang the trays on the counter 3 times. I found that they were easier to peel on wax paper than the parchment papers. So if you have wax paper ,use them.
It is essential to dry them in air after piping them , so that they dry on the top and this would help you get those perfect feet at the bottom.
Making the Filling:
1. Add butter in a bowl and beat it on high speed with a hand-held mixer or in stand mixer till it turns pale yellow or white in color.
Now add the rooh afza and strawberries’ crush to it and beat it again till light and fluffy.
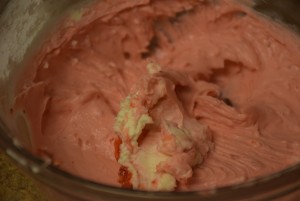
Add the refrigerated cream cheese to it and beat it again to combine them well.
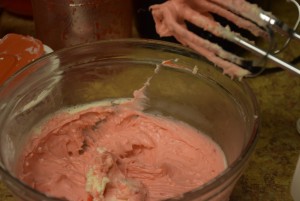
Next add caster sugar to it spoon by spoon and beat it till it forms stiff peaks.
Add this cream in a parchment cone or in home-made cone and cut a half-inch tip at the bottom.
Assembling:
1. Prepare the filling while your macaroons are laid for cooling down to the room temperature. They are cooled when you try to separate them from the parchment paper and they come off easily with their base intact.
Select 2 same size matching macaroon shells and invert one of them on the paper.
Add a heapful of filling in the center .
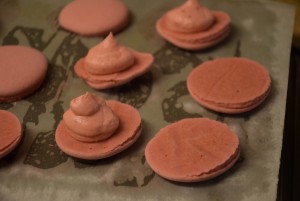
Gently bring the other shell over the iced macaroon and press it slightly such that the cream bulges out to the edges and stop.
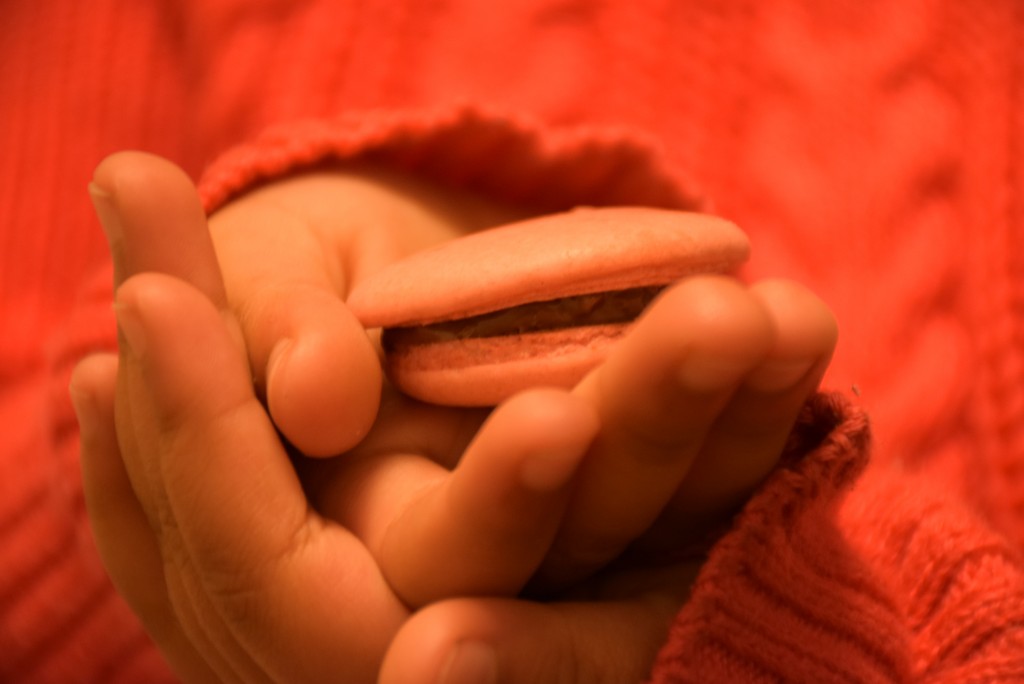
Garnish them sifted cocoa powder or your may cut fresh strawberries too on the top of icing and then close with the other shell. Alternatively, you may just add a spoonful of Nutella hazelnut spread on one macaroon and smash it with other macaroon to get those lovely ,chewy, airy, matty, colorful macaroons !!

Thank you all for reading this long post !! I wanted to cover almost every fact about them. 😉
Please leave your comment below if you have nay questions or suggestions!! I know these are not perfect , but then perfection comes through practice !!
Till then happy baking and happy preparations for christmas!! 😀