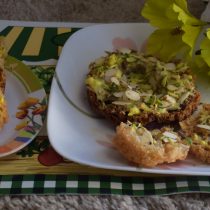
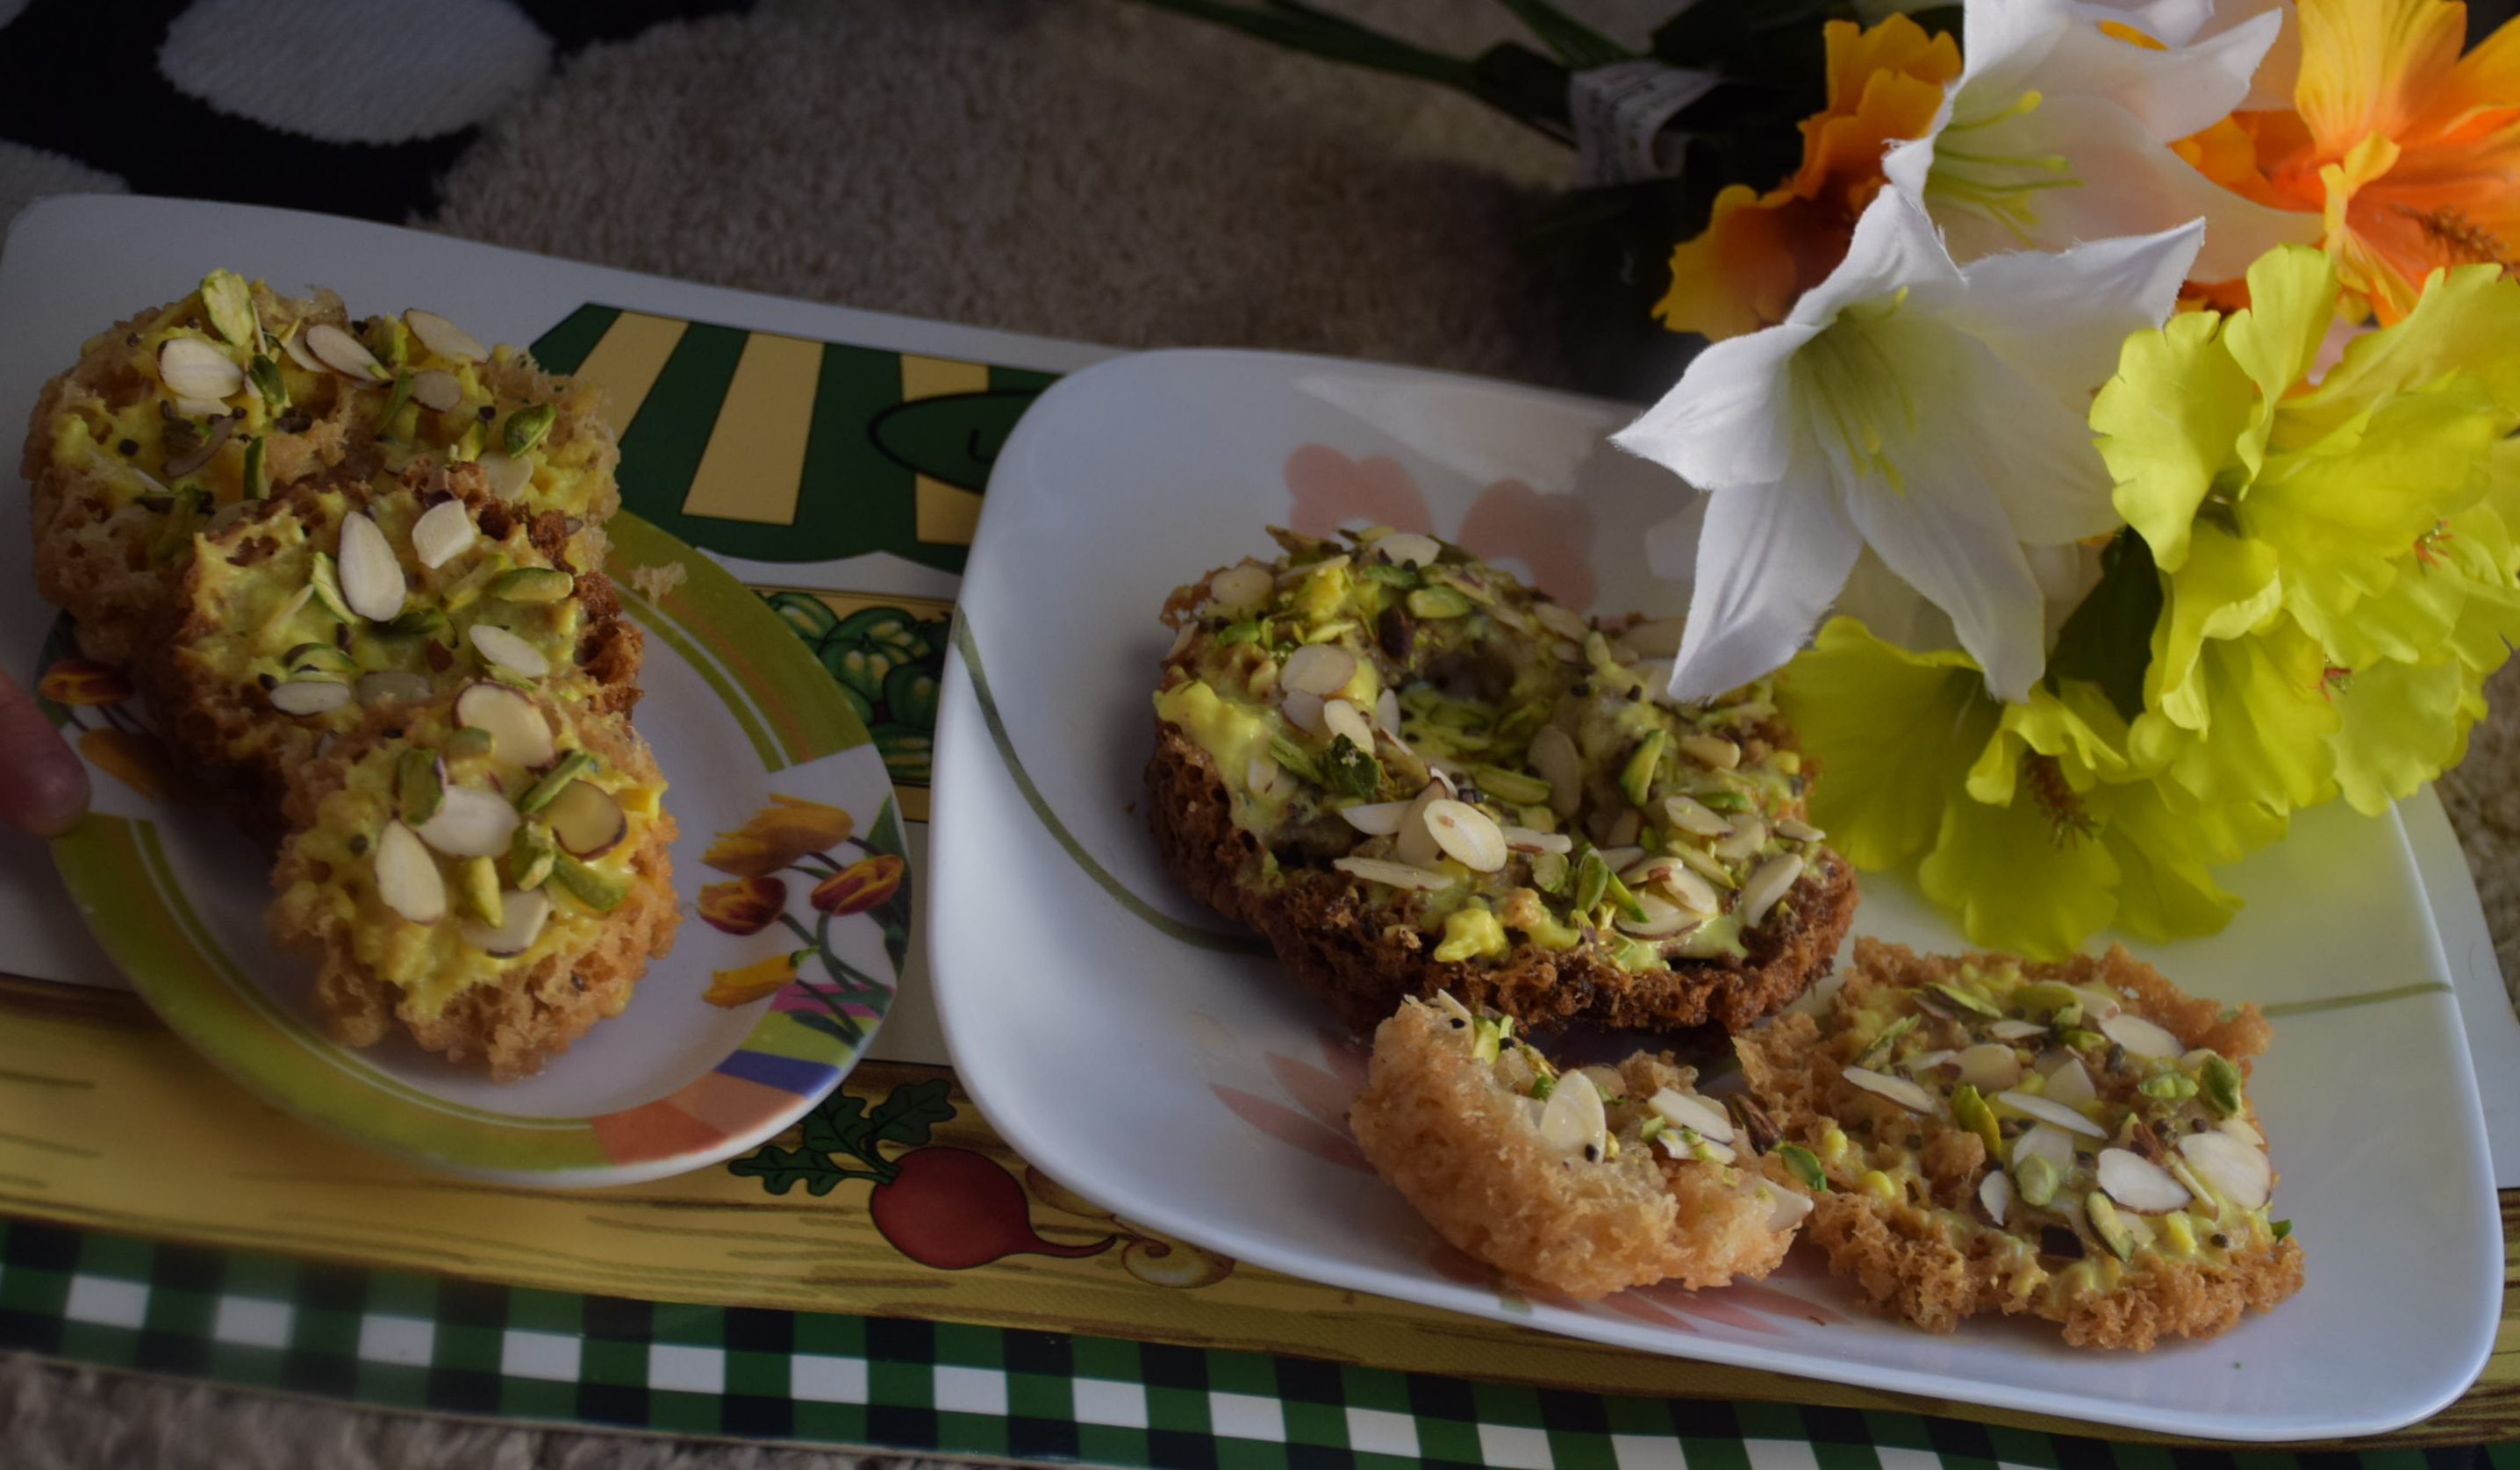
Mini-Malai Ghevar
 >
>
>
>
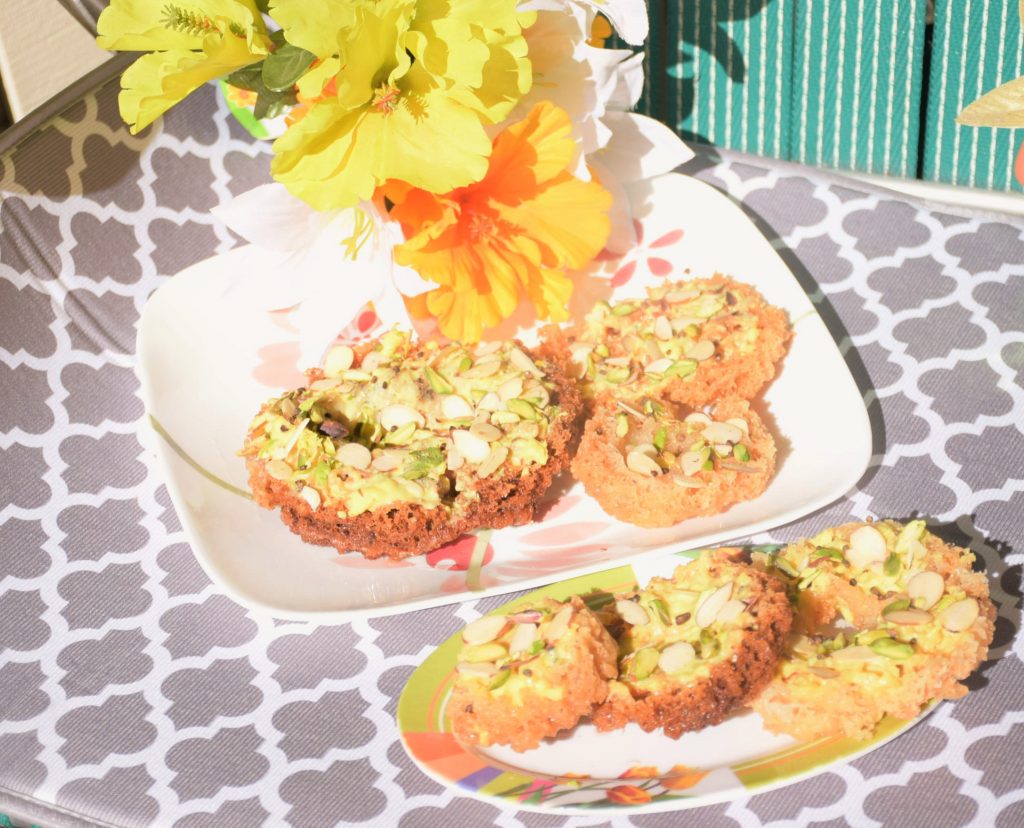
> The month of ‘Shiva’ , Shravan month (Hindu calendar) is here. Its been my favourite , since my birth since I was born in this month. 😉 My mom has always made this month special for me. Now I am a mom too , so I need to make it special for my family and friends. Like last year’s Ghevar, this time I wanted to make mini bite-size Ghevar which could fit in my hand and over-loaded tummy. 😀 So I tried them with my friend Shipra Gupta and we both celebrated Teej in this way.
The recipe is the same with the difference that this time I topped them with some ‘Rabri’(thick sweetened cream) . And Yes it was a PJ that these have less calories or are good for burn out . 😀 So please a light hand on them, they absorb a lot of Clarified butter(ghee) while frying .
But its good to indulge in some home-made fresh Ghevar for adding little sweetness in the boring life. So go on and note the ingredients below.
>
INGREDIENTS:
- All purpose Flour (Maida) – 2 cups
- Clarified Butter (ghee) – 1⁄4 cup
- Milk (cold) – 1⁄4 cup
- water (cold) – 4 cups
- Clarified butter(ghee) – 4 cups for frying
- Ice cubes – 6
- Lemon juice – 1 tsp
For sugar syrup:
1. Sugar – 2 cups
2. Water – 1 cup
3. Cardamom powder or seeds (Elaichi dana) – 1 tbsp
For Garnishing :
1. Silvered almonds (bareek badam) – 2 tbsp
2. Silvered pistachios (piste kate) – 2 tbsp
3. Rabri – 1⁄2 cup
4. Silver leaves (vark) – 2-3 leaves(optional)
For Rabri :
1. Whole milk – 1⁄2 cup
2. Milk powder – 1⁄2 cup
3. Saffron strands (kesar) – 5-6
4. Sugar – 2 tbsp or to taste
METHOD:
| Preparation time : 30 + 10 mins | Frying time : 15-20 mins (large ones) | Frying time : 3-5 mins (small ones) | Makes 6 small and 3 large Ghevars |
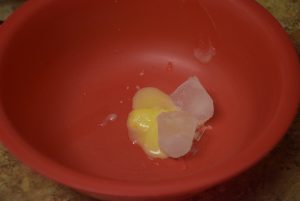
Take Ghee at room temperature in a bowl and add ice cubes in it. With your hands , move the ice cubes such that the ghee turns whitish and creamy. Don’t beat it to an extent that it forms a butter. Just as much to form a cream which is light and fluffy. Yes here, we have to use our hands, since you need to feel the texture of ghee turning from particles to all creamy and fluffy.
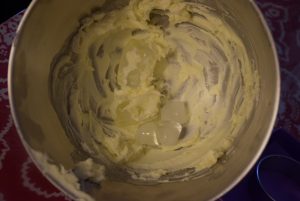
Discard the cubes in the sink. Now add equal quantity of milk in it and beat it with a whisk. Its better to use a whisk or a spoon. The electric beater won’t do justice for mixing this little quantity.
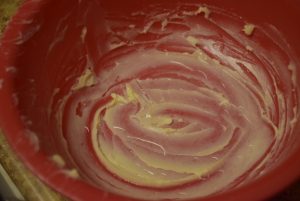
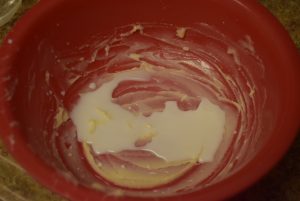
Now start adding some cold water and some maida in parts to the above mix. Add maida little by little to avoid any lumps in the batter and continue whisking with other hand. This needs a lot of whisking, so its good to whisk in a Kitchen-aid Mixer or Electric beater at medium speed. Don’t add too much water at a time since the maida will start separating from ghee. Also I would recommend whisking with a wire whisk , since that allows you to stop whenever you want. The wire whisk ,though involves muscle work but you need a thin uniform batter in the end. For that, if you churned it at high speed then butter might get separated from the whole mixture. Add lemon juice so that the ghee will not separate from maida and whisk it again to form a thin solution.
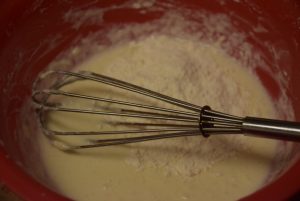
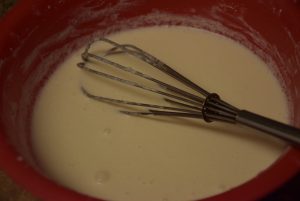
Now preheat the Ghee(clarified butter) in a heavy base wok or a heavy base cooker with elongated walls. The deeper the vessel ,the better. It needs heavy base so that the batter won’t stick to the bottom while frying and the bottom might not burn with hot ghee.
Once the ghee is hot enough, slowly place the cookie cutter molds inside the ghee with a pair of tongs. When the ghee is fuming hot, its ready to start.
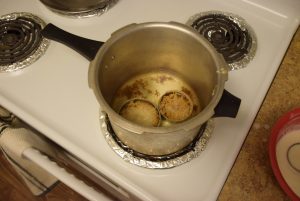
See to it that the batter is uniform and thin before you start pouring. Sometimes, the ghee will start floating on top of the batter, don’t panick mix it again with whisk and then start pouring. Lower the heat by a very subtle amount and then start.
For pouring in the molds , use a tablespoon size spoon to pour the batter in a thin long string dragging it upwards while taking out. Now pause for 2 seconds, let the bubbles settle a bit and then again pour a long string just in the center. You will see some batter overflowing outside the molds, don’t worry about it now. For smaller molds 5-6 tbsps are enough ,for bigger molds pour in more batter. For thicker ghevars the ghee in wok should be more , for thinner ghevars, like mine, 3 cups ghee is sufficient.
Take a steel skewer or a wooden skewer to make hole in the center just after pouring the batter to allow some space for the next string. Pour the batter wherever you see some more or left out space. Without the molds, its always good to pour the batter around the edges to form an elevated boundary. When the required thickness is achieved stop pouring and let it fry , so again turn the heat to high this time.
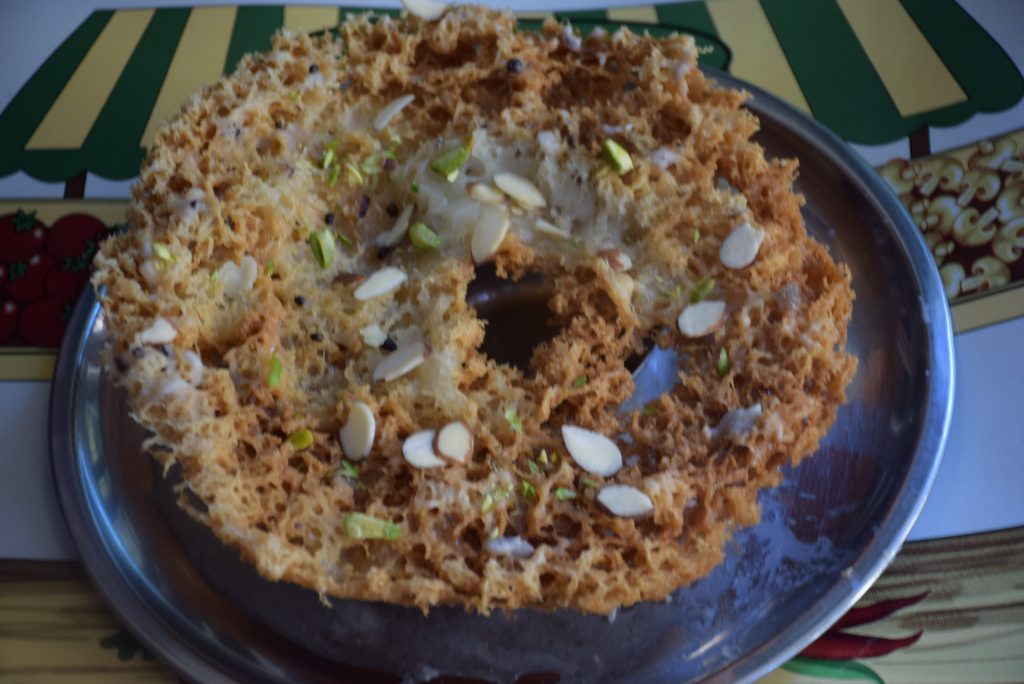
Small ghevars will be fried almost instantly while the large ones will take 15-20 mins. When the ghevars are fried ,they will leave the sides, and you could rotate them freely in ghee with a skewer.
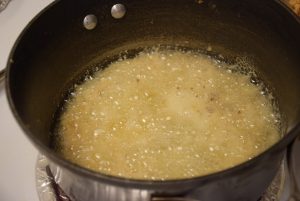
Once you see the golden brown color on all edges and in the center, then poke the skewer in the center and take a slotted spoon to slowly take them out of ghee dripping the excess ghee safely back in the wok and placing the fried ones on a mounted (katori /bowl or net) bowl in a plate. This will help drip the excess ghee in the plate.
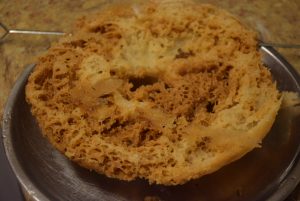
Similarly prepare all the ghevars and stack them. Be gentle while transferring them or placing them because they are very crumbly and can break easily.
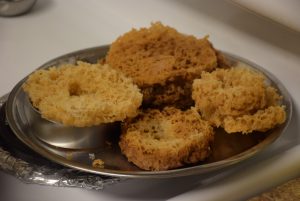
Prepare rabri. For rabri /malai , mix milk powder with milk in a bowl and add the solution to a pan or wok.
Heat the wok such that it starts thickening. Add saffron strands in it while boiling at low temperature. Turn off the heat and add the sugar according to your taste. Let it cool to room temperature , then chill it.Prepare 1 or 2 thread sugar syrup and pour the hot syrup on the cooled ghevars one by one. For checking the thread , drop a spoon of syrup in cold water in a bowl, if it settles to the bottom its done, if it dissolves it needs to be done.
Now spread the rabri with a spoon on the syrup sweetened ghevars to top them. You may add as thick or thin layer as you wish.
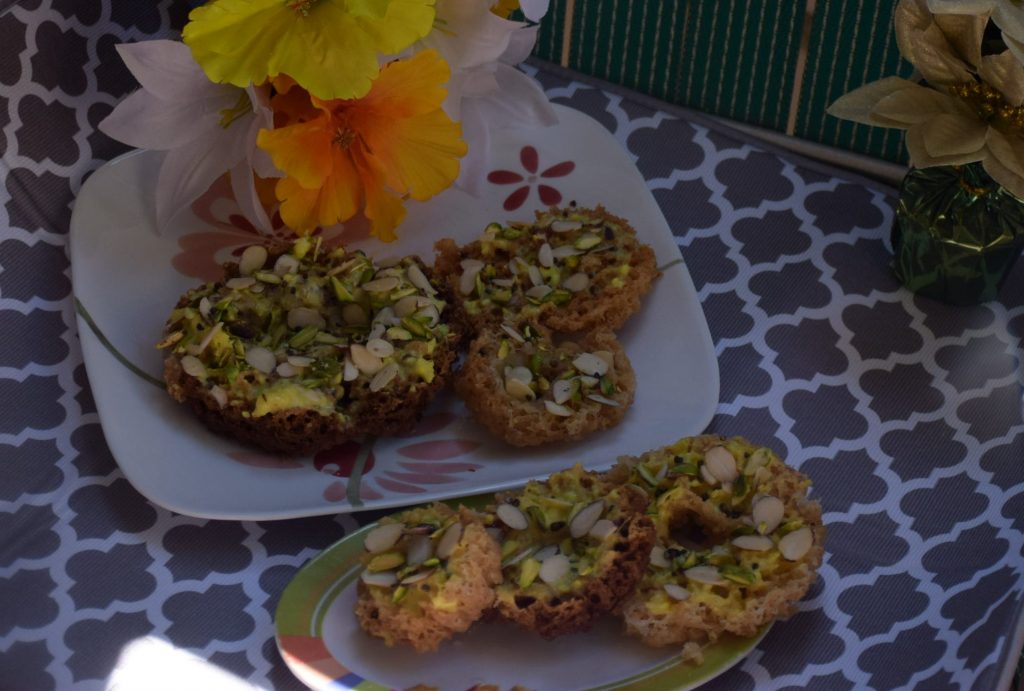
Finally garnish them with nuts. So the scrumptious ghevar is ready to devour!!
[Note: The used ghee (frying ) could be strained into a steel container after getting cooled .This ghee could be used for roasting sandwiches, parathas or making other sweets. It doesn’t smell awful or taste bad. ]
I am not an expert cook, this is all I know after making ghevar two times. So any feedback,suggestions are welcomed !! Please feel free to suggest or advise me. 🙂
Till then, Happy cooking and A Very Happy Teej !!