Whole Wheat donuts
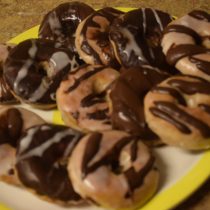
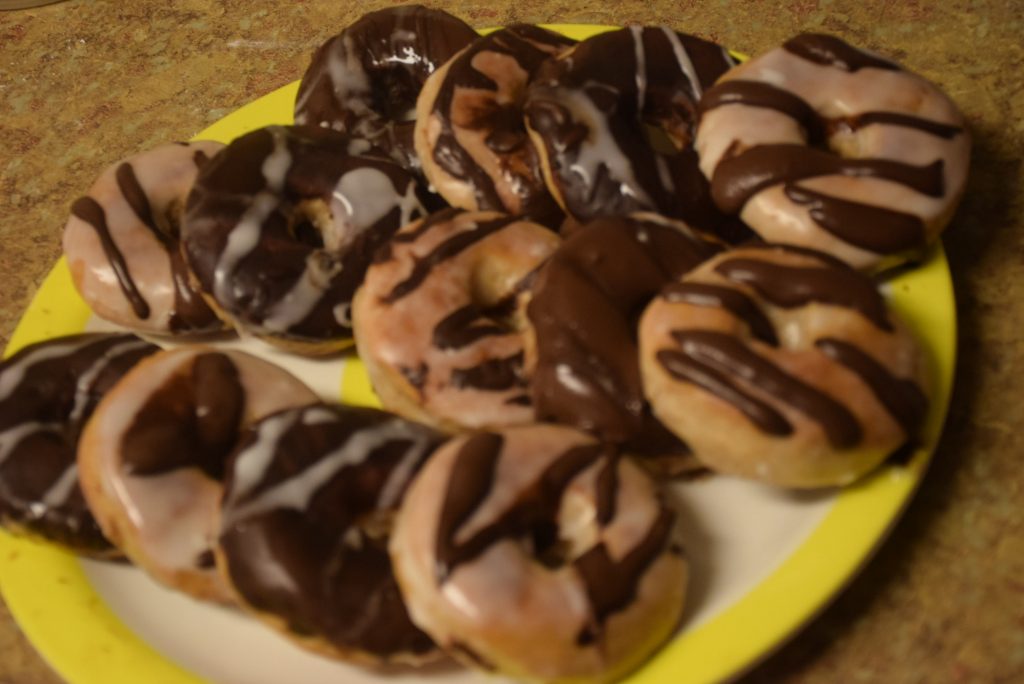
After pondering over the calories of my yesterdays’ Paczki Donuts , I thought of making a healthy version of them. You got it right. 😀 This time they are baked and are made of whole wheat flour. Though I have used Spelt flour, but you may use whole wheat flour too . Also don’t forget to proof the dough and cut donuts, since this dough may take more time to develop that gluten.
Believe me, these donuts are light and fluffy. Though they still have some fat calories in the form of butter, but I bet you can have 2 instead of 1 regular Doughnut. I wanted to try egg-less whole wheat donuts , and to my surprise they came out delicious.
Even after three days you can warm them in microwave and enjoy your treats. After all, they didn’t have any smell of oil too. 😛
INGREDIENTS:
1. Sprouted whole wheat flour or Spelt Flour – 1 and 1⁄4 cup
2. Plain flour (Maida) – 1 and 1⁄2 cup (for dusting and rolling)
3. Unsalted butter – 1⁄3 cup
4. Milk (lukewarm) – 2⁄3 cup
5. Active dry yeast – 1 and 1⁄4 tsp
6. Sugar – 1⁄2 cup
7. Applesauce or yogurt (home-made dahi) – 3 tbsp
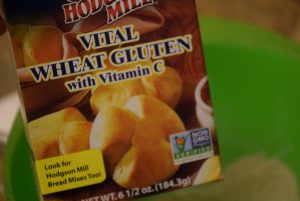
8. Vital Wheat Gluten – 2 tsp (not essential)
9. Vanilla extract – 1⁄2 tsp
Sugar Glaze :
1. Powdered sugar or confectioner’s sugar – 4 tsp
2. Milk – 1 tsp
3. Vanilla essence – 1⁄4 tsp or 2 drops
METHOD:
|Preparation time : overnight | Baking time : 15 mins | Makes 14-15 donuts |
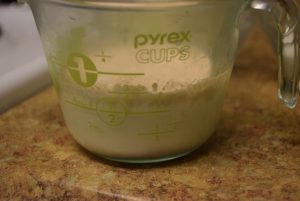
Warm milk in microwave or burner just enough that you can put you finger into it (i.e. not more than 110 degree F) . Add yeast and 1 tsp sugar in it and let it rest for 5 mins.
In the meanwhile , add whole wheat flour or Sprouted flour or Spelt flour in a large bowl or tureen(parat). Spelt flour is made from a special grain called spelt and which is high in fiber and protein. Now-a-days we also get sprouted flour , which is made from sprouted wheat grains. Both of them are highly nutritious and could be used to replace maida or plain flour in 1:1 ratio. Since they develop gluten easily , they are good. But in case of unavailability of these flours, you may use whole wheat flour too. (Remember whole wheat outputs are usually dense and dry, so add an extra bit of butter to neutralize the dryness.)
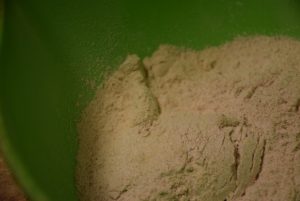
Add Vital wheat Gluten (if it is readily available) to the flour. This accelerate the proofing process in flours. Also these flours are less glutenous as compared to wheat , hence they need this gluten .
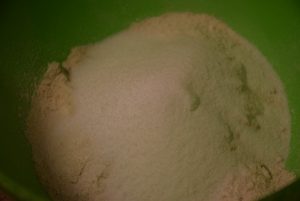
Add sugar to the flour. Mix it with a whisk or spoon.
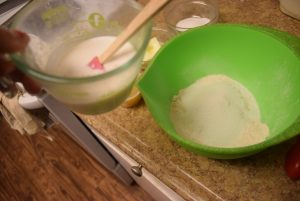
Now add the proofed yeast milk mix to the flour and whisk it continuously so that it is fully absorbed and you get a runny dough kind of consistency. Add salted or unsalted butter to it. Adjust the amount of butter and applesauce now, if you see the dough is dry or tight. At this stage ,your dough should be soft and sticky. In the end add the vanilla extract. Stir together everything to form a mixture like that of the cake , soft ,runny sticky ,moist .
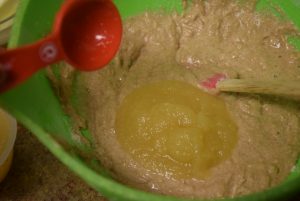
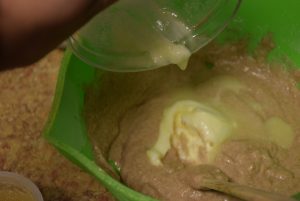
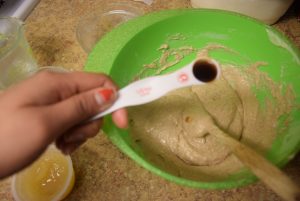
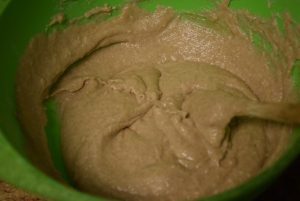
Cover it with a cling wrap and keep it in a warm place for 2-3 hrs. I kept it for 2 hrs.
Uncover the dough , if you see it has doubled in volume. Invert it on your counter and dust the counter with plain flour. Here too you can use whole wheat flour for dusting. Try to make it smooth by adding plain flour in parts to it.
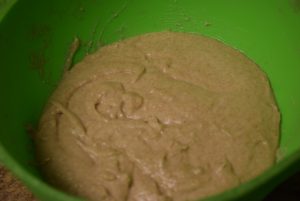
Notice the rise in dough after 1st proofing
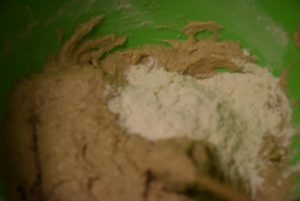
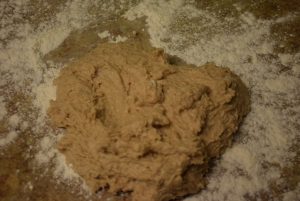
When you are able to form it in a soft ,pillowy pliable dough which does not stick to your fingers , you are ready for the next step. Knead it a few times to activate the gluten in it.
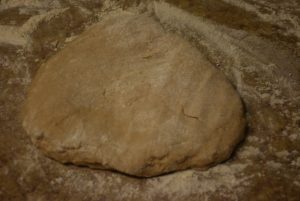
Now roll it to in a big round or any shape on a board with a rolling pin upto 1⁄4 inch thickness. Since we are going to bake them , I prefer them thinner than the fried ones. This help in quick baking and we eliminate the risk of over-baking too.
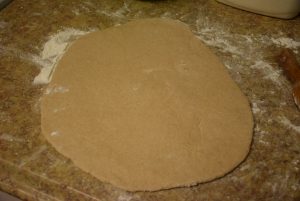
Cut out donuts shape with a steel glass and a bottle cap or with a donut cutter.
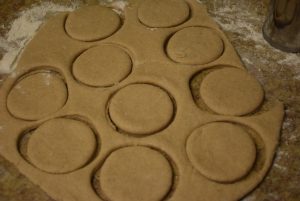
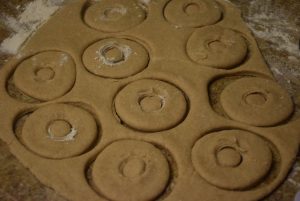
Arrange them in a parchment paper lined tray and baste them with oil or butter.
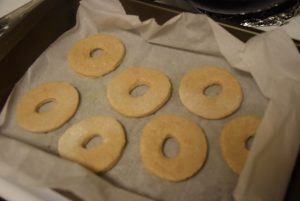
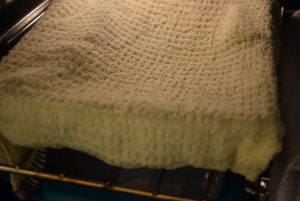
Cover them with a damp towel or a cling wrap and allow them to rest again for an hour or more. I kept them ovenight. 🙂 (Because good things take time. 😉 )
Preheat your oven to 180 degree C or 350 degree F.
When the oven is ready, uncover them and keep their tray in the middle rack of the oven for 15-20 mins. Mine took 15 mins to bake from both sides.
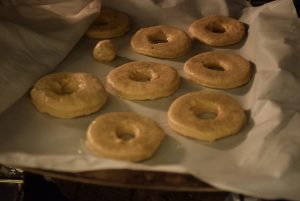
greased on top
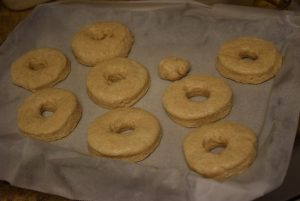
- You may take them out after 10 mins and invert them on the other side ,if you wish. However, if your oven is properly preheated they get baked from both sides simultaneously. In the meanwhile , you may prepare your sugar glaze and chocolate glaze. For preparing sugar glaze , add milk one tsp at a time to the powdered sugar and keep stirring, till you get a thick glaze. You may add Vanilla essence too. You may adjust its thickness or thinness by adding milk little by little.
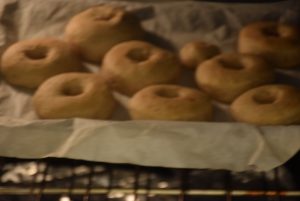
baking in oven
Take them out when you see they have changed color on both sides. Don’t over-brown them or they will turn dry and hard.
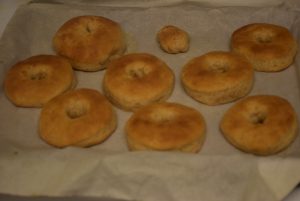
Don’t allow them to cool. Just place them on a net or a bowl where the extra glaze can drip. Now pour sugar glaze on some and chocolate glaze on some. For preparing chocolate glaze please check this recipe.. Then you may garnish the chocolate ones with melted white chocolate or sugar glaze and the sugar glazed ones with the chocolate strips using a spoon or a cone. (I used the spoon , hence the untidy look. ;). Use Cone made with a ziplock or ready-made one for adding fine details to your lovely donuts. )
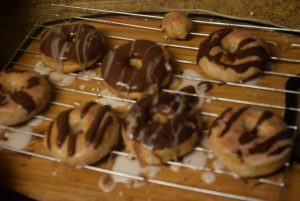
Enjoy them hot !!
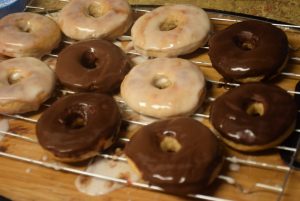
You can store them in a closed container for 5 days. Remember to warm them in microwave before consuming. You may store the non-glazed ones in a close container for 7-8 days and fry them or just warm them and add glaze just before serving.
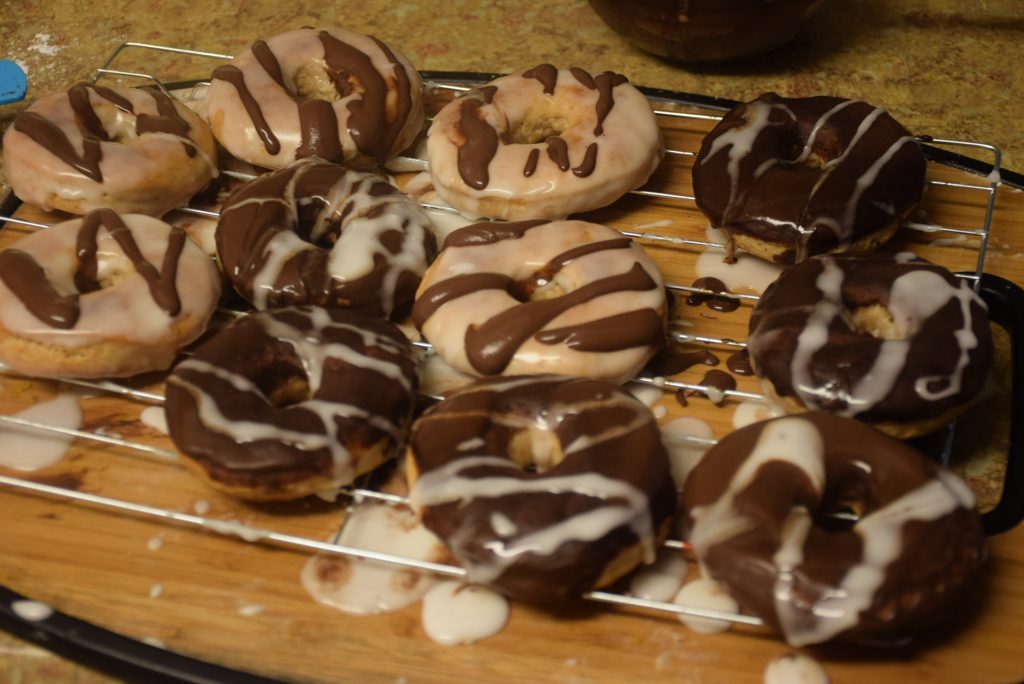
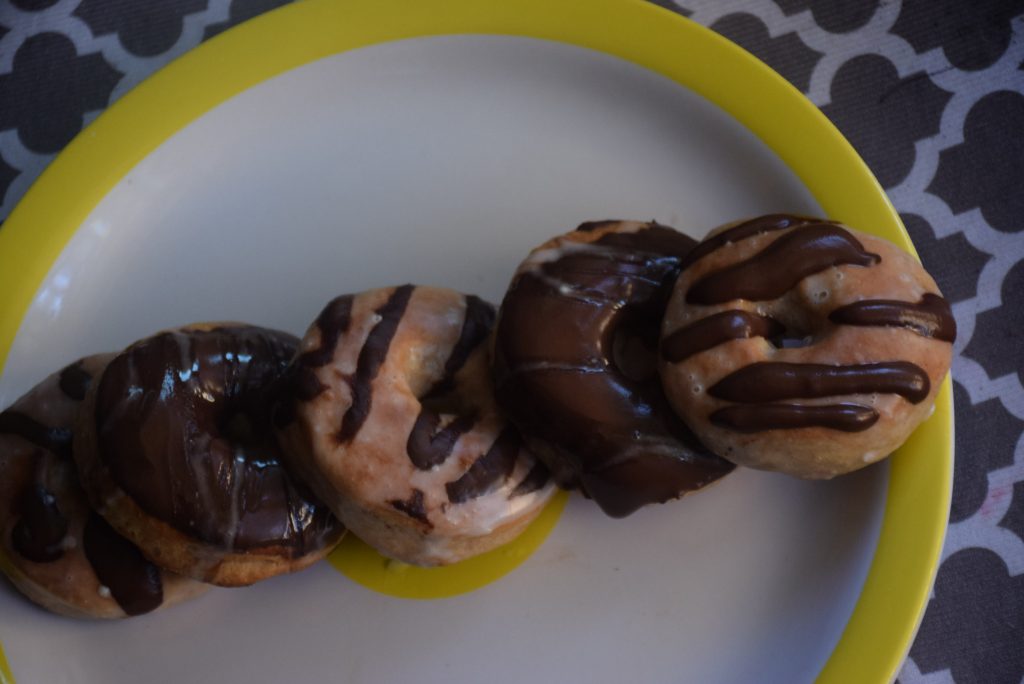
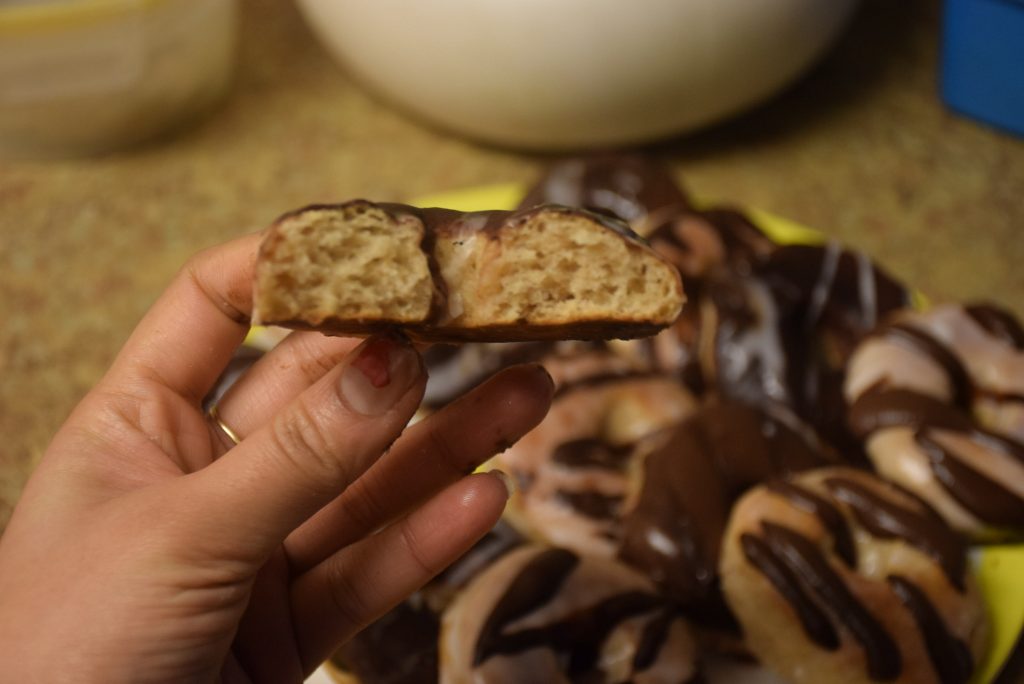
Soft and puffy
I hope you enjoy reading this post as much as I enjoy making them ! Do try and leave your comments below! Thank you for being a patient reader!
Till then keep baking and sharing your love….
🙂